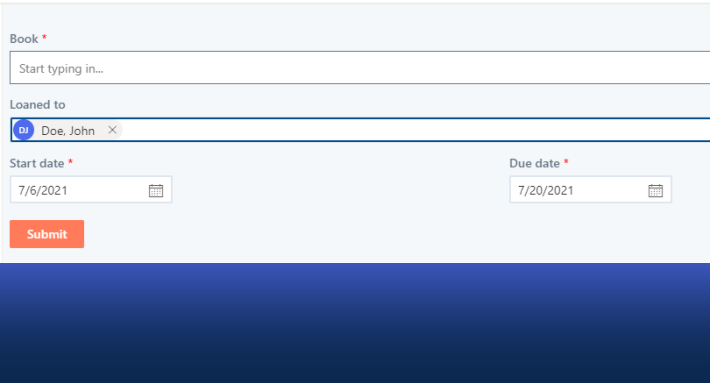
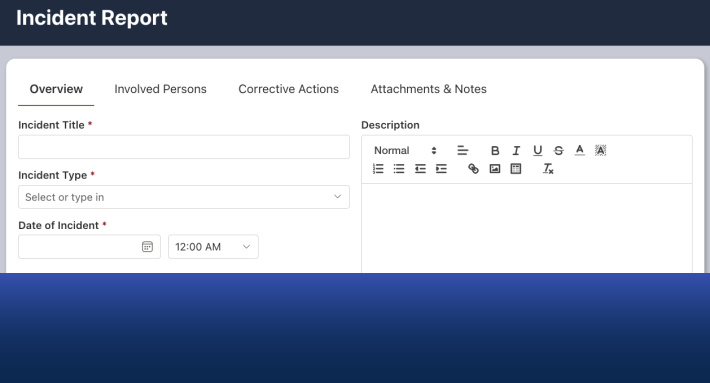
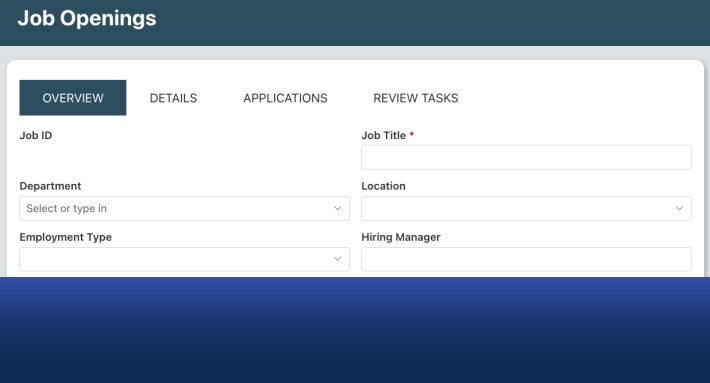
The right approver is rarely a fixed name. It is the manager of whoever asked, the owner of whichever department was selected, the person responsible for that site. Dynamic approvers in Ultimate Forms resolve the approver from the item's own data at approval time, so routing adapts to the organization automatically and nothing breaks when people change roles. This guide explains the static-versus-dynamic distinction, then builds a complete working example: a purchase request system where the approver comes from a Departments list, with permissions, notifications, and a full test run. It is one routing pattern among several; the complete guide to SharePoint approval workflows maps the rest.
Static versus dynamic approvers
Ultimate Forms supports both, and the difference decides how your process ages.
Static approvers are fixed people at fixed stages. The Vehicle Reservation System is a good example: User Request, Manager Approval, Vehicle Supervisor. Whoever submits, the manager and supervisor stages always belong to the same people. Static routing is simple and right whenever the approver genuinely never varies.
Dynamic approvers are resolved from conditions and data. The HR recruitment process runs five stages where each approver depends on the candidate's assigned department: Customer Service candidates route to the customer service manager, and every other department routes to whoever runs it.
The dynamic version is what most processes eventually need, for a reason that has nothing to do with features: organizations move. The approver hardcoded into a workflow leaves, changes roles, or hands the department to someone else, and every workflow naming them silently breaks. An approver read from data cannot break that way, because the data is maintained where organizational facts belong, in a list, not inside workflow configuration.
Before you build: the Approval control does this natively
One clarification before the first step, because it may save you the rest of the article. The Approval control supports dynamic approvers out of the box: point it at a Person column, a Manager column filled from the requester's profile, an approver resolved through a lookup, and the control routes to that person automatically, bringing its own notifications, reminders, form locking, approval log, and appeals along with it. For most processes, that is the whole implementation: place the control, configure the stages, select the column, done. It also combines with conditional approvers, so a dynamically resolved approver can participate only above a threshold.
The build that follows assembles the same behavior by hand, from permission rules and actions. It remains worth knowing for two reasons: it generalizes to any staged process that needs its own specialized structure, and it exposes the mechanics, the routing table, the column-resolved permissions, the column-addressed notifications, that the control otherwise handles invisibly. Start with the control; read on to understand what it is doing for you, or to build the custom version when your process demands it.
The architecture: three lists
The build uses three SharePoint lists, and the shape is worth understanding before the steps.
- Purchase Requests: the user-facing list holding requests and their approvals.
- Departments: the routing table, mapping each department to its approvers.
- Approval Tasks: holds the approval tasks generated per request.
The Departments list is the heart of the pattern. It turns "who approves for which department" into ordinary data that an administrator maintains like any other list. When a department gets a new head, someone edits one row, and every future request routes correctly. The routing table is the whole trick; everything after it is wiring.
Step 1: create the lists
Set up the Purchase Requests list first; the purchase requests build guide covers it. Then create the Departments list from a custom list template.
Step 2: configure the Departments list
Rename the Title column to Department Name, then add a column:
- Name: Purchase Request Approvers
- Type: Person or Group, with multiple selections allowed if a department has several approvers
Populate the list with your departments and their approvers. This is the single place the routing will ever need maintaining.
Step 3: link departments to purchase requests
In the Purchase Requests list, add a Lookup column named Department, pointing at Department Name in the Departments list, and make it required: a request without a department is a request that cannot route.
Then surface it on the form. Open the form in Form Designer, select the Request tab, add the Department column at position 3.
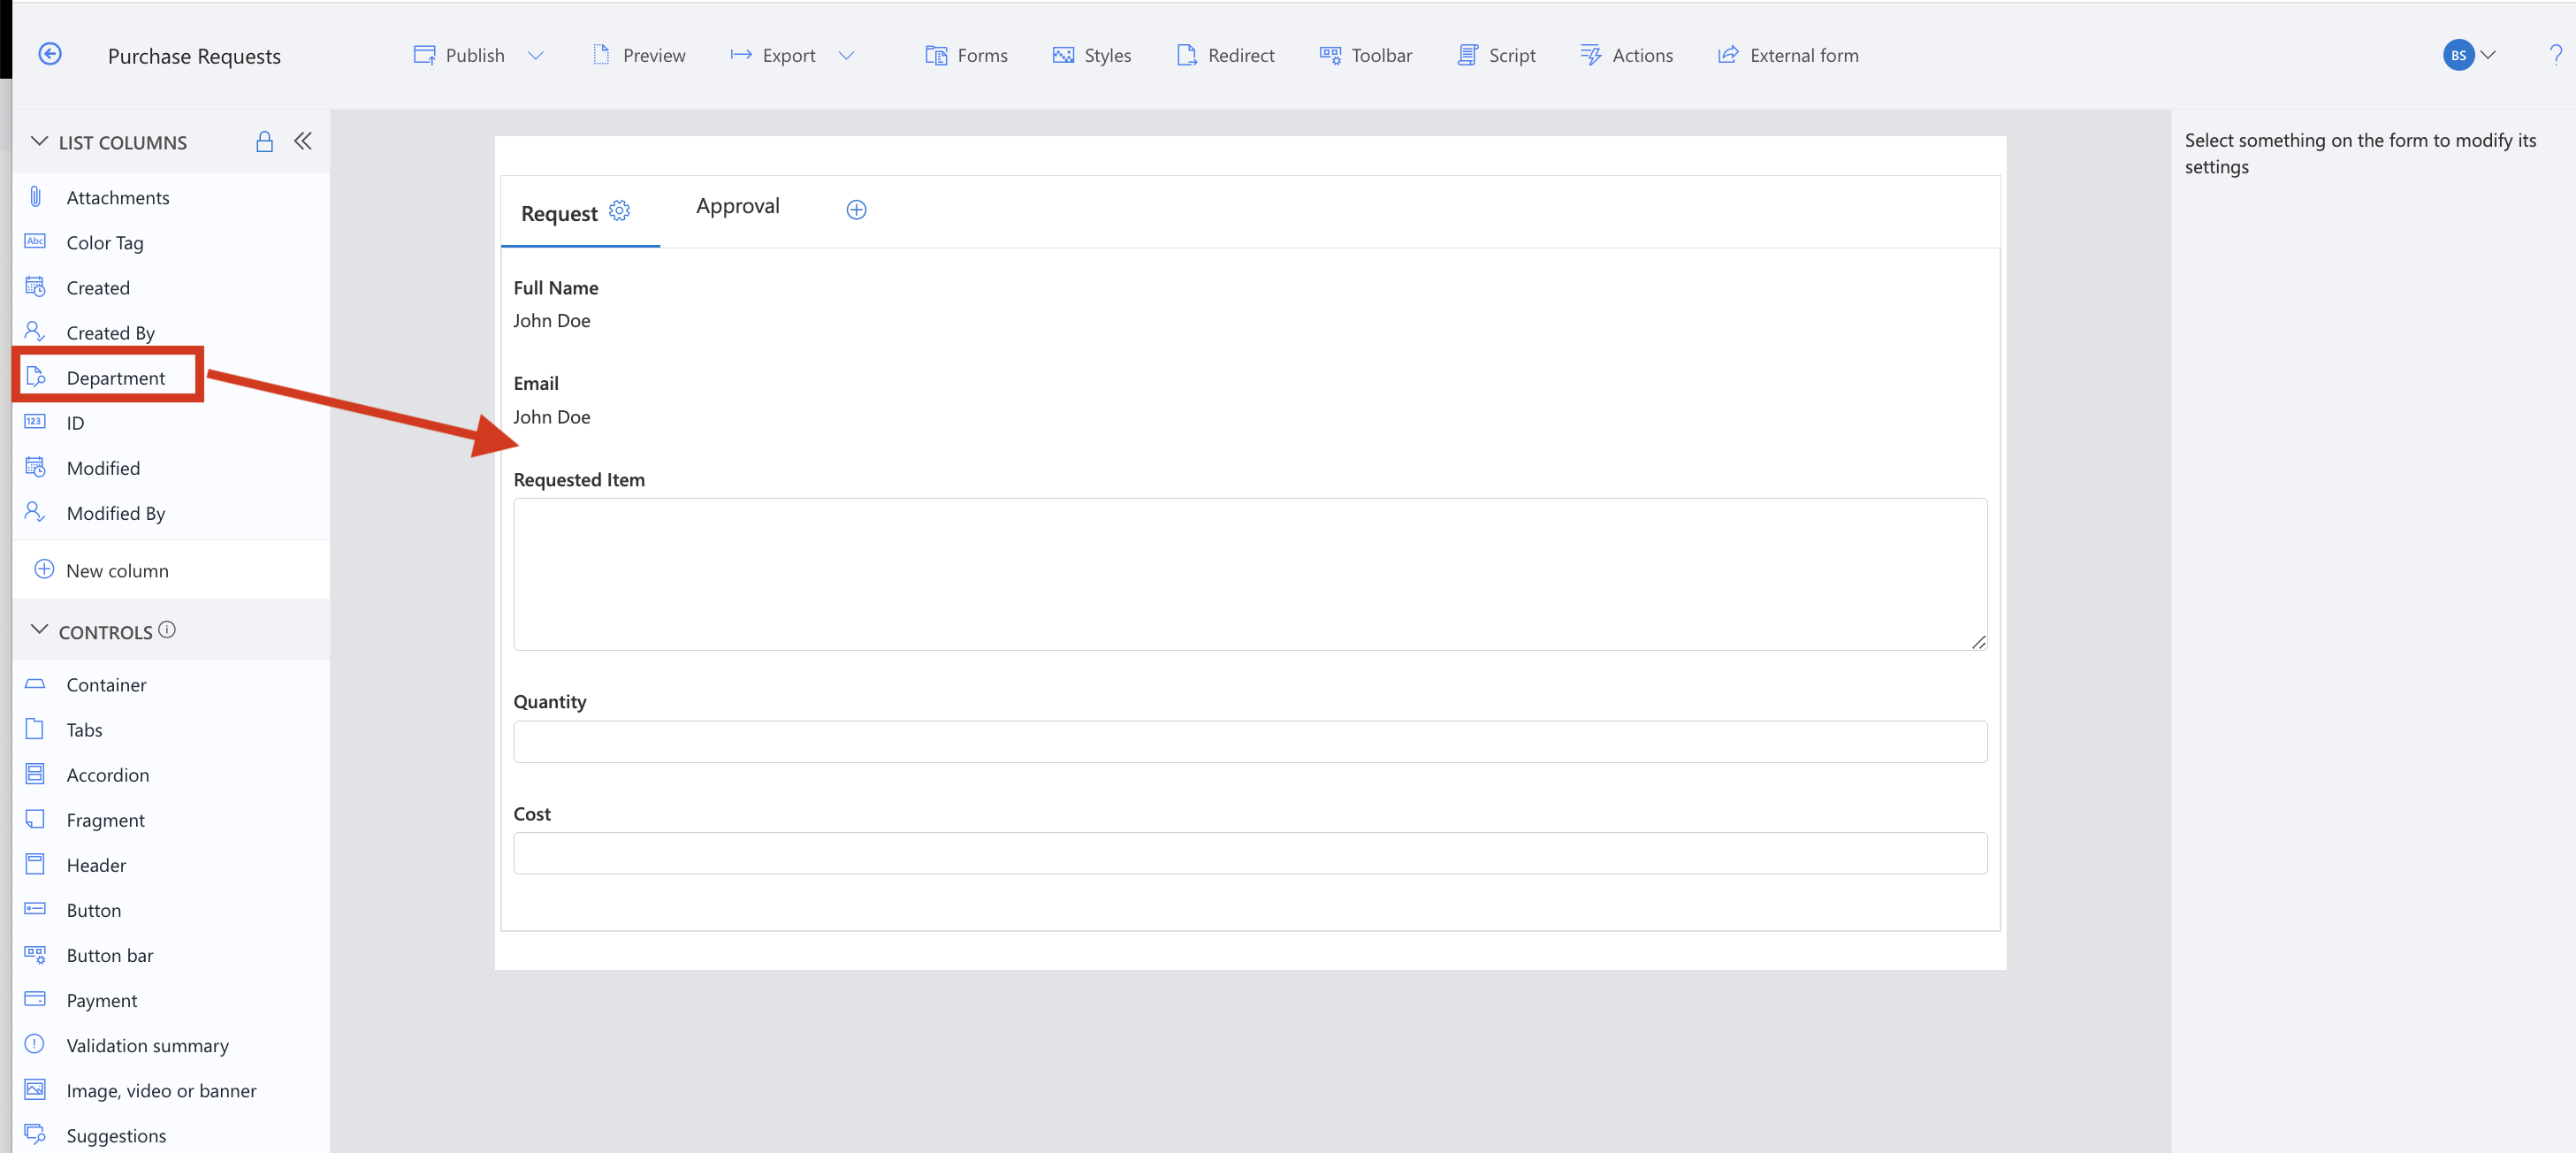
Then simply click on Publish.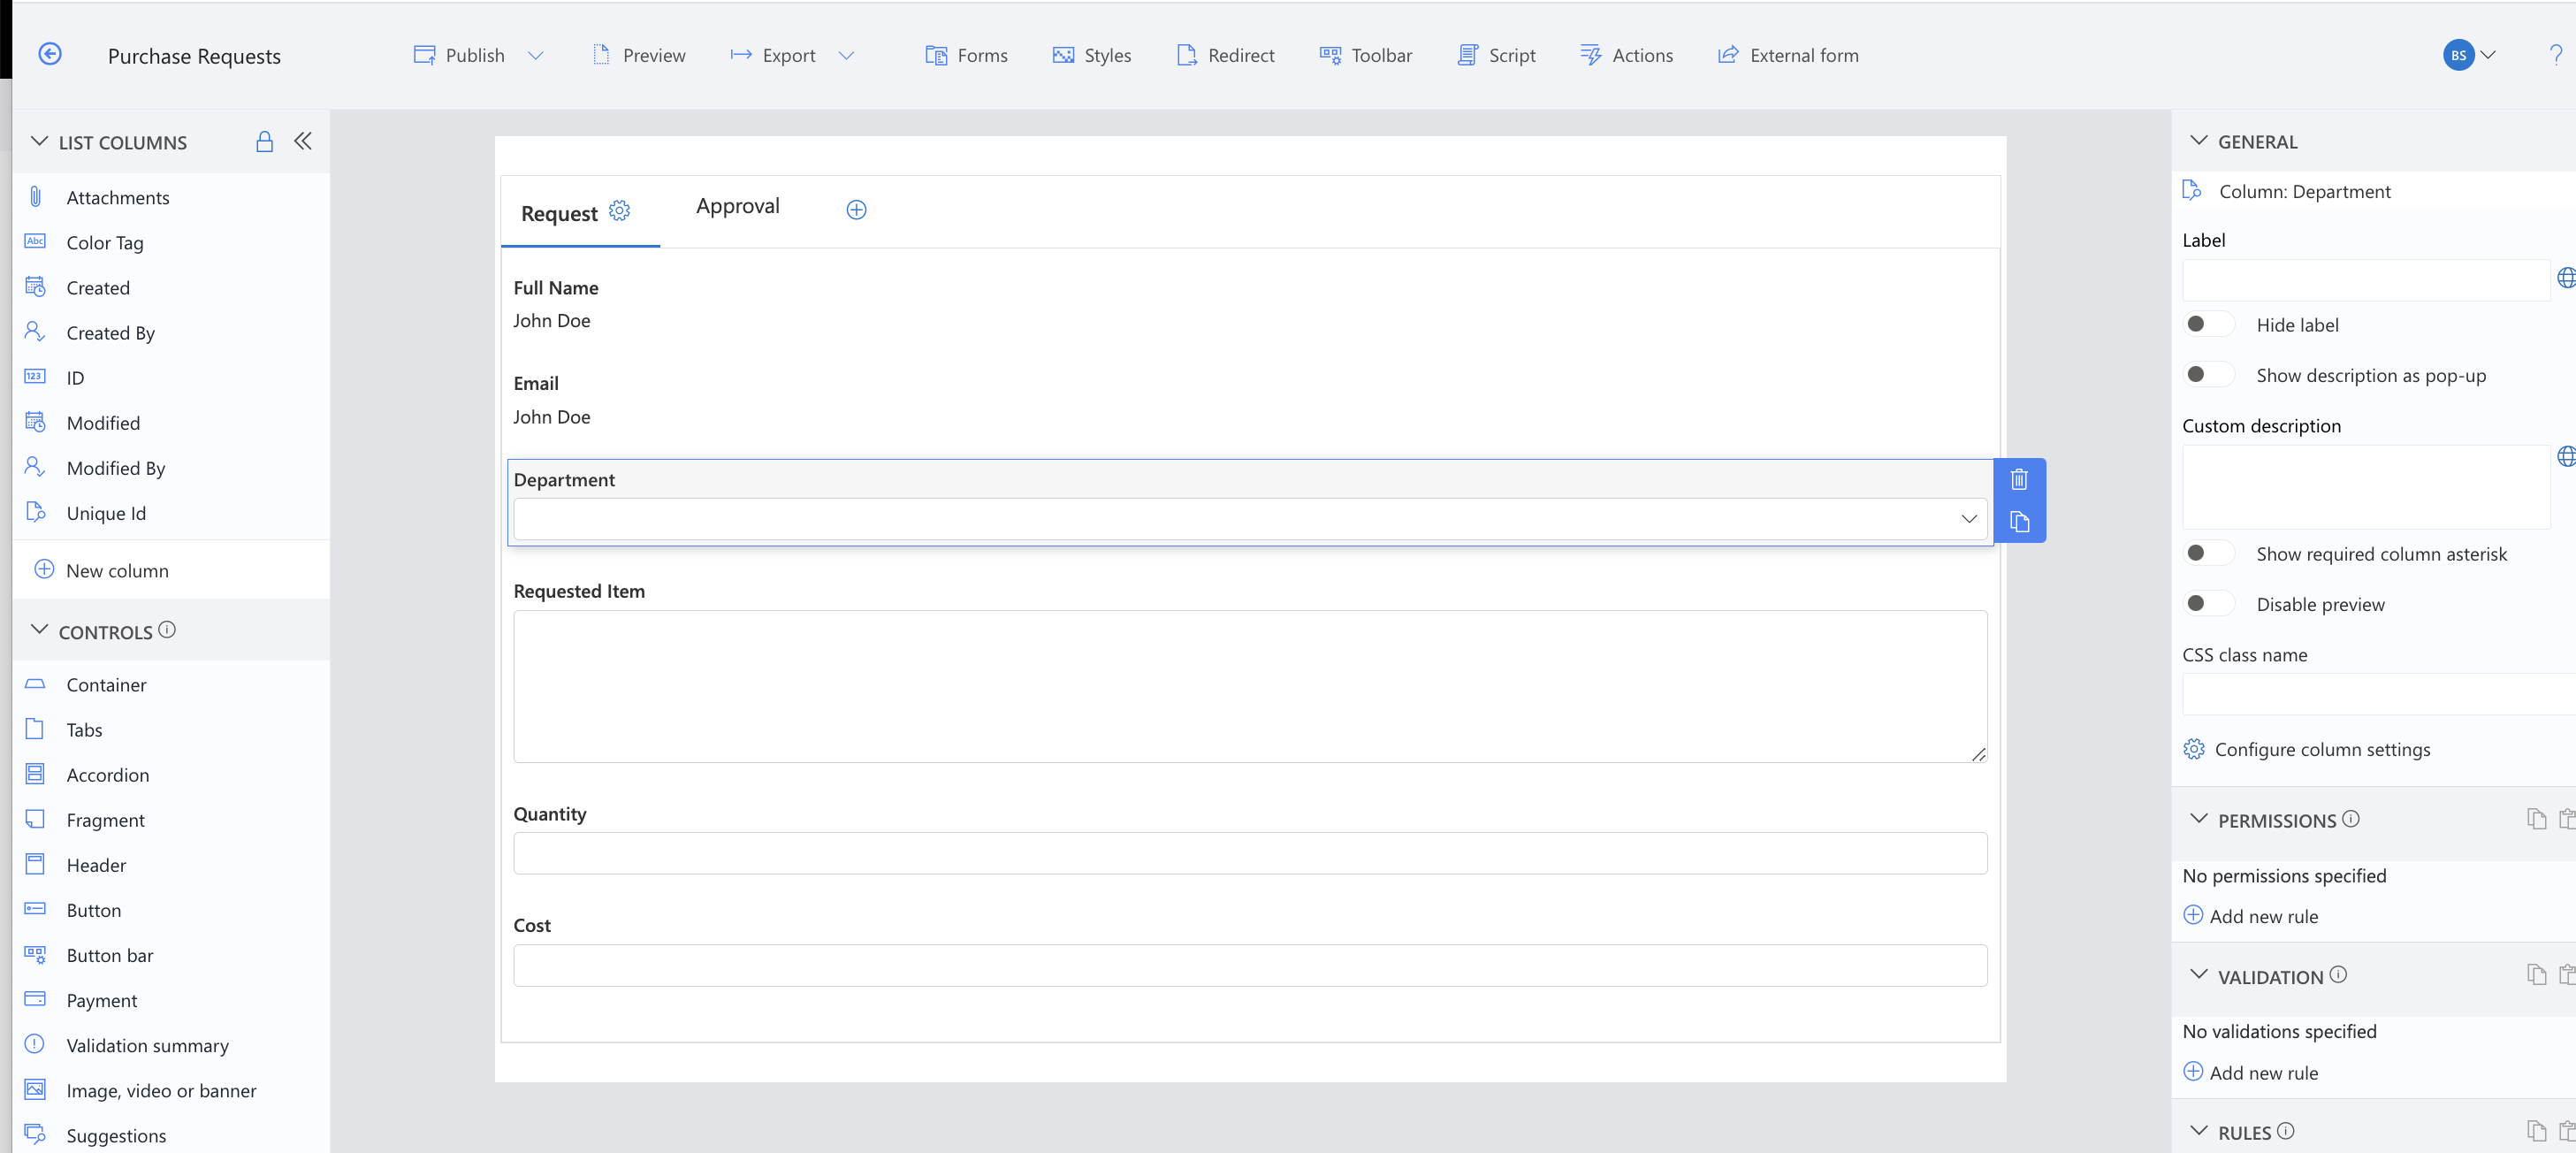
From now on, every submission carries the key that determines its approver.
Step 4: permission the Approval tab dynamically
Here is where the routing becomes enforcement. In tab control, select the Approval tab and add a Write rule with one crucial setting: under For users/groups, choose in Column, select Department in the first dropdown, and Purchase Request Approvers in the second. Apply the rule to the Edit and Display forms, and Save:
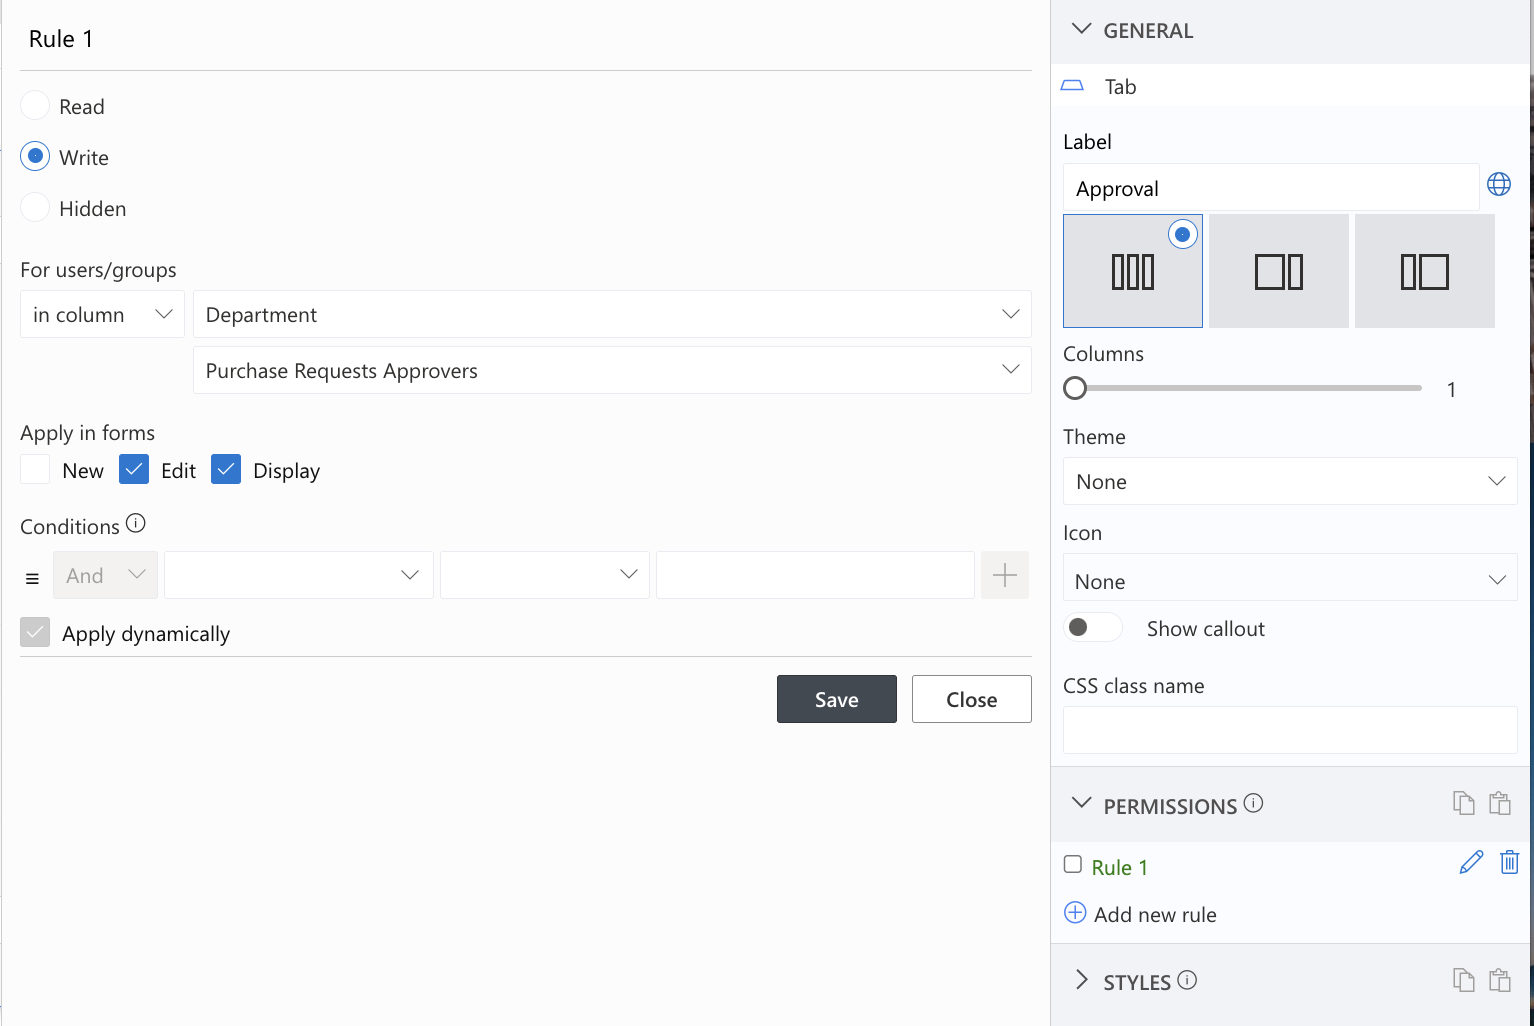
Read what that rule says: the people who may edit the Approval tab are whoever the selected department's row names as approvers. Not a fixed group, not a hardcoded name, a value resolved through the lookup at the moment of access. The same mechanism drives dynamic permissions anywhere in the platform, and it is the entire security model of this build in one rule.
Step 5: notify the resolved approver
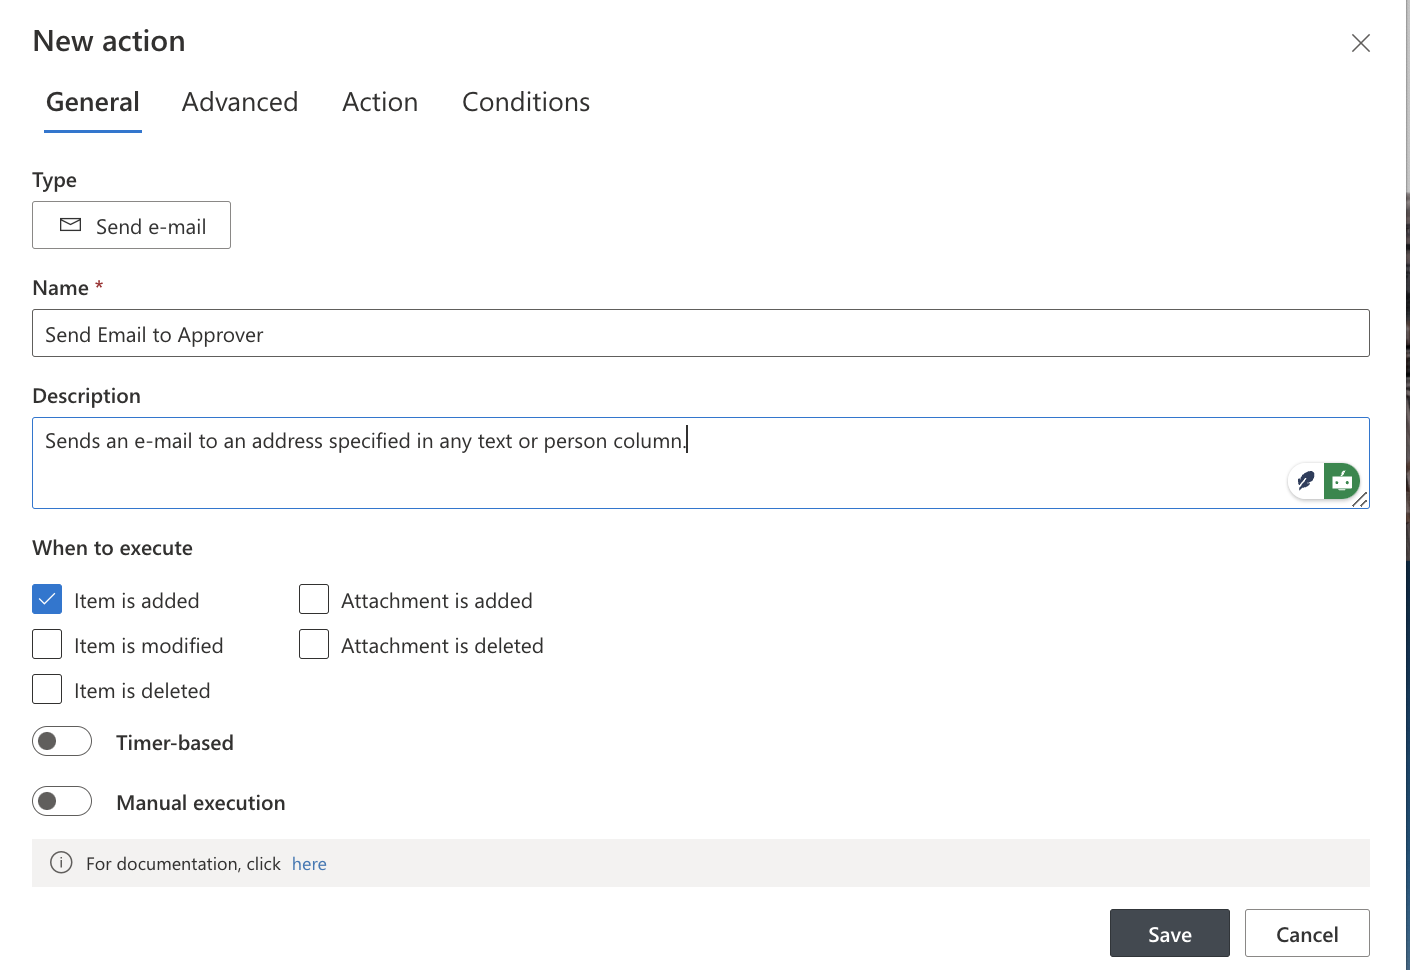
The approver also needs to hear about the request. In Actions, create a Send Email action named "Send Email to Approver," and uncheck the item modified trigger so it fires on creation:
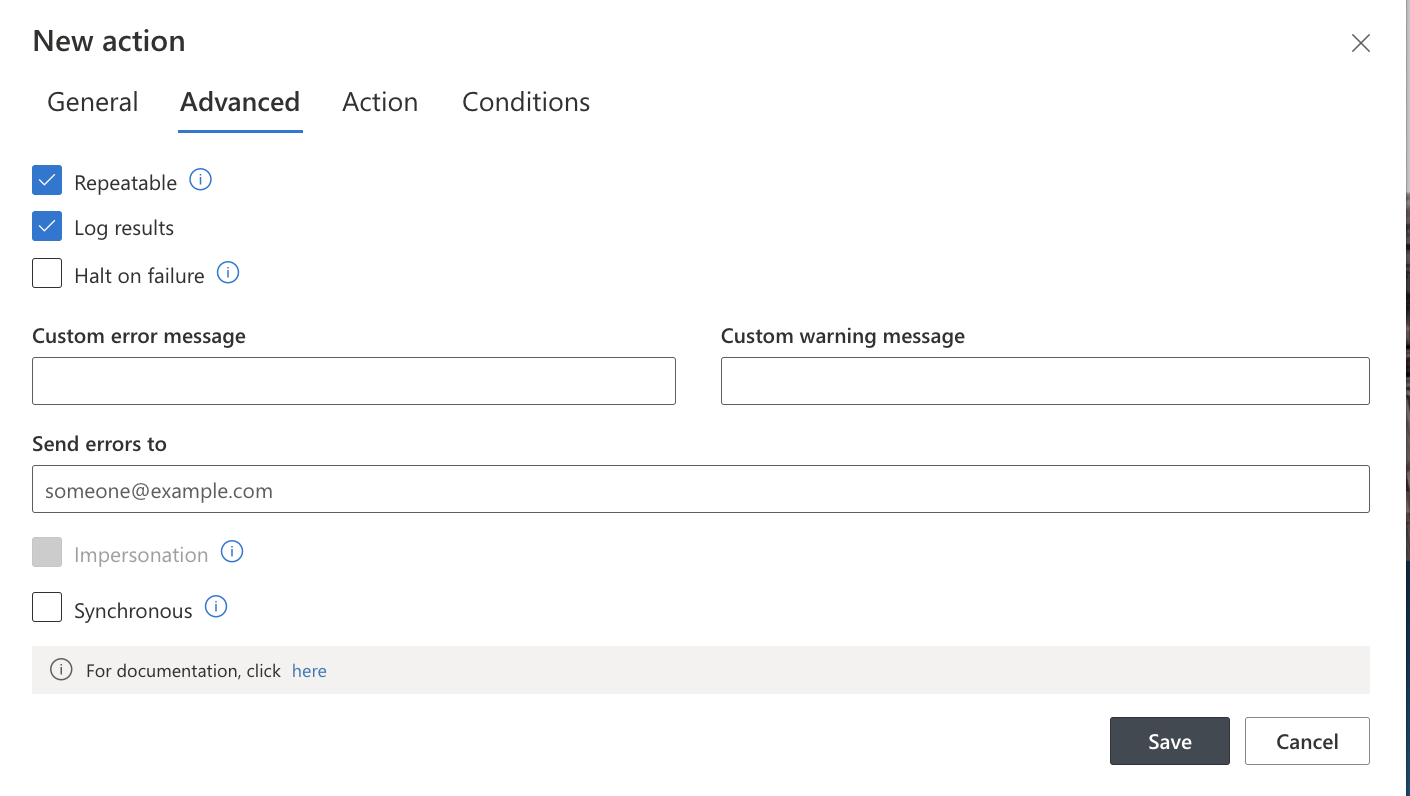
In Advanced Settings, check repeatable and log results:
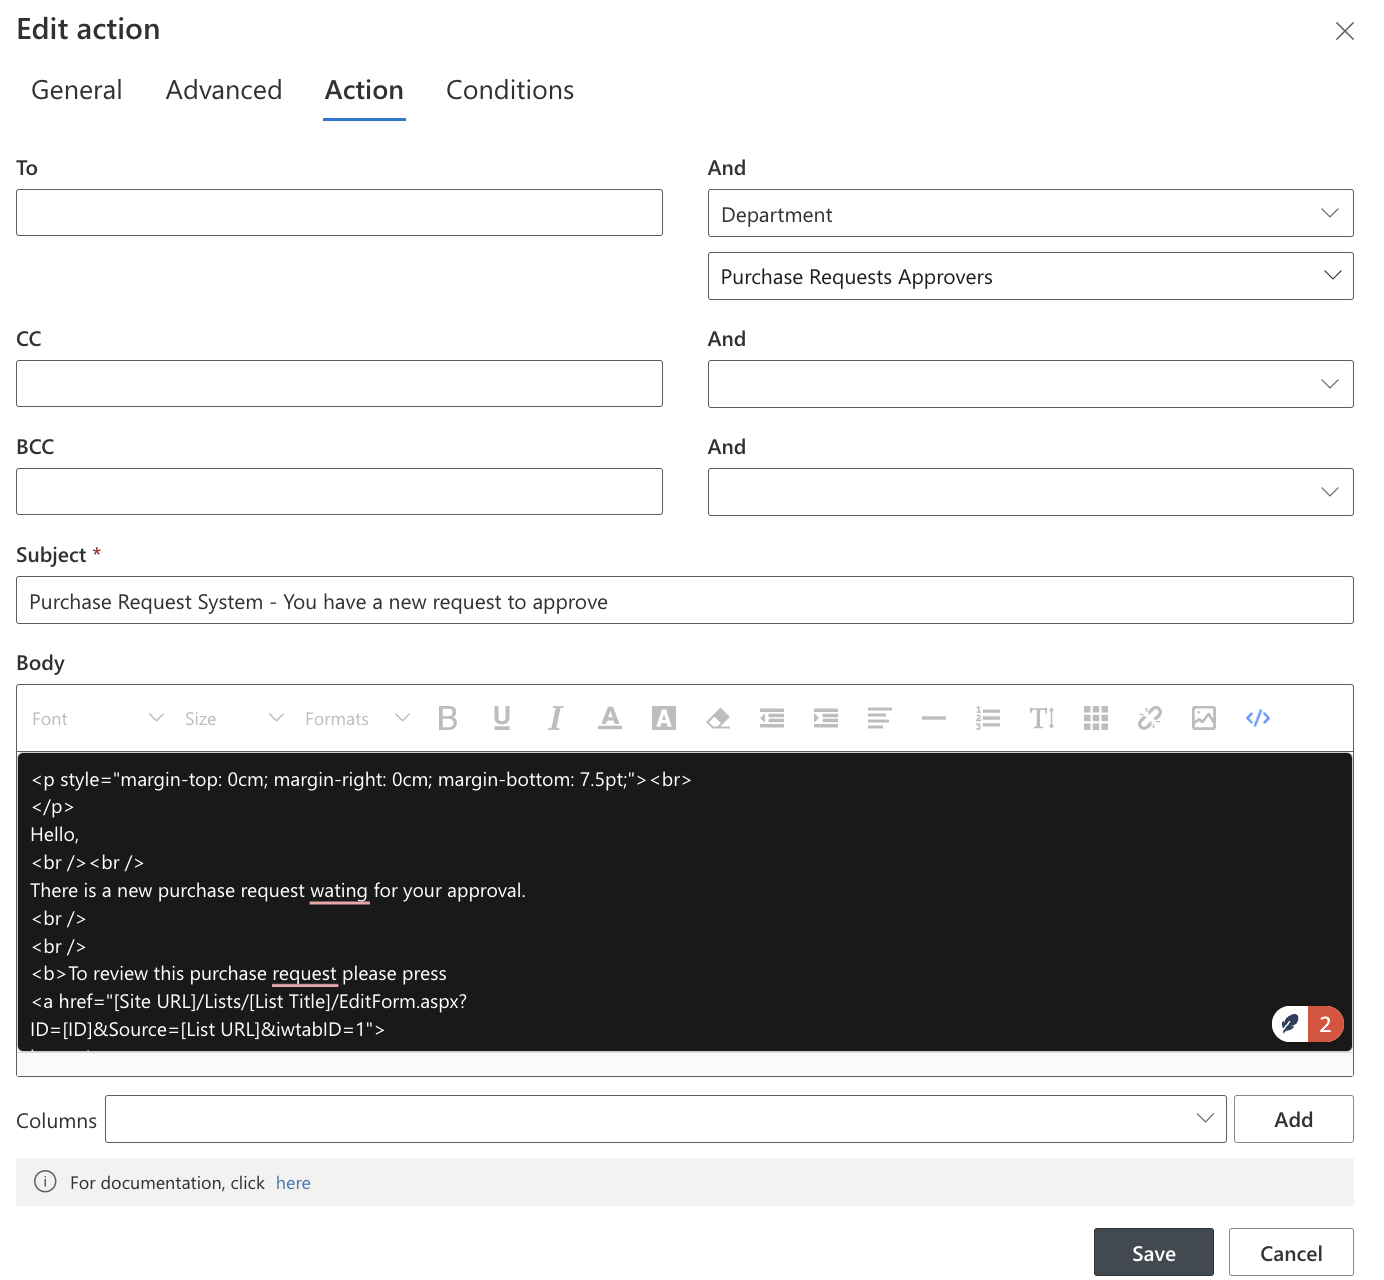
In Action Settings, the recipient is the point: on the To field, use the right-hand dropdown, not the people picker, and choose Department, then Purchase Request Approvers beneath it. The email goes to whoever the routing table resolves for this item. Give it the subject "Purchase Request System - You have a new request to approve" and a short HTML body with a direct link to the item's edit form, built from the Site URL, List Title, and ID tokens:
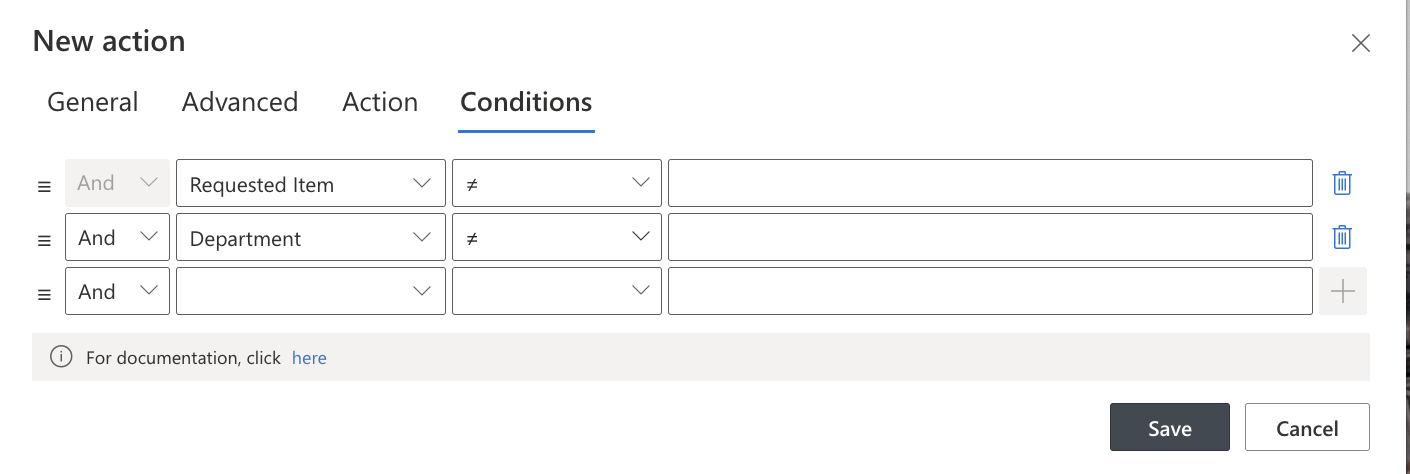
Finally, on the Conditions tab, add two conditions joined with AND: Requested Item not equals empty, and Department not equals empty. The notification fires only for valid, routable requests:
Step 6: test the round trip
Run the whole loop once before calling it done.
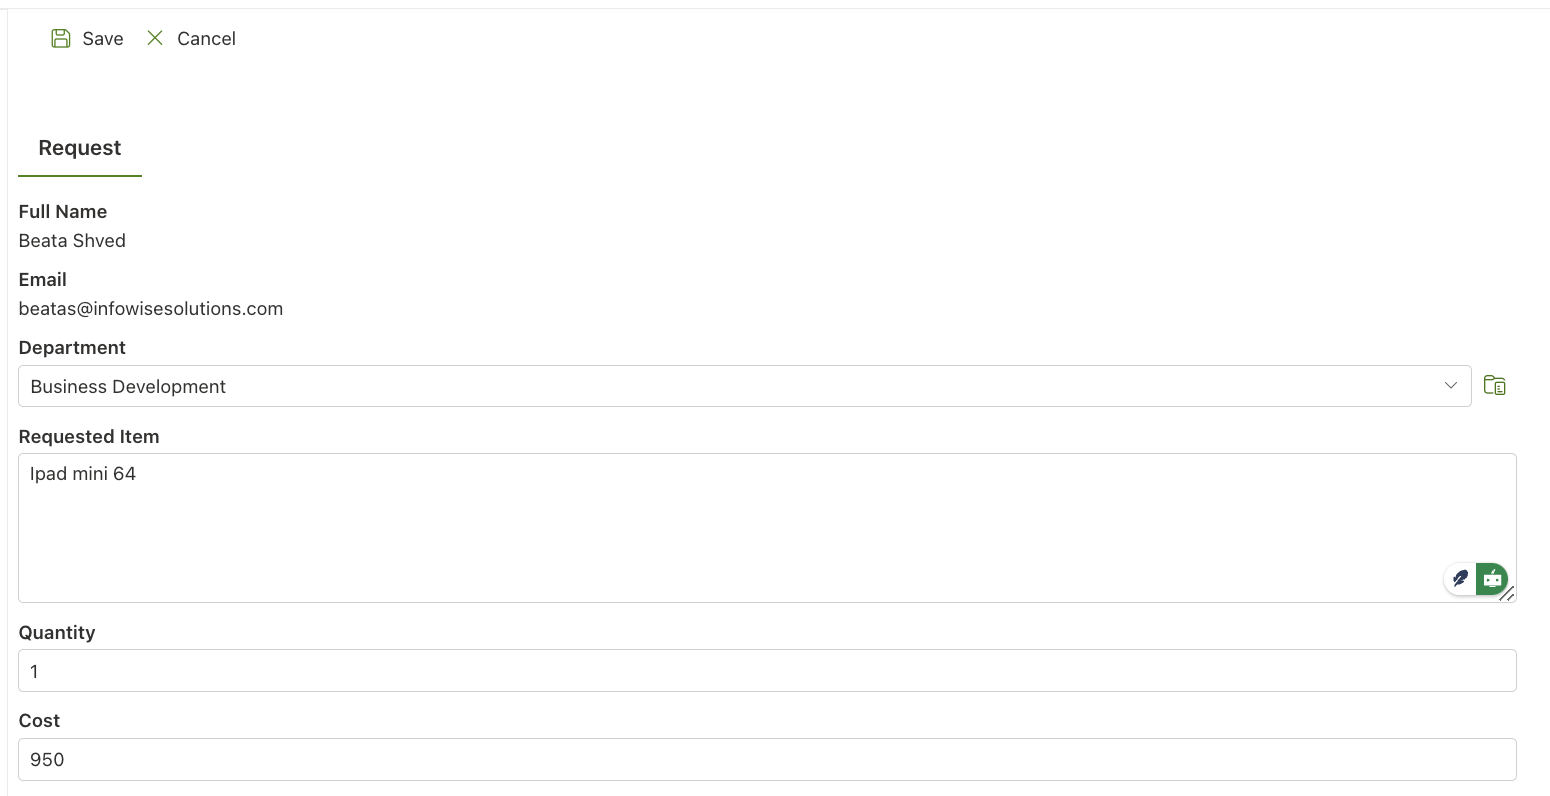
Log in as a requester and create a new Purchase Request, filling all columns and saving:
Check the approver's inbox: the designated approver for the selected department receives the notification with its direct link.
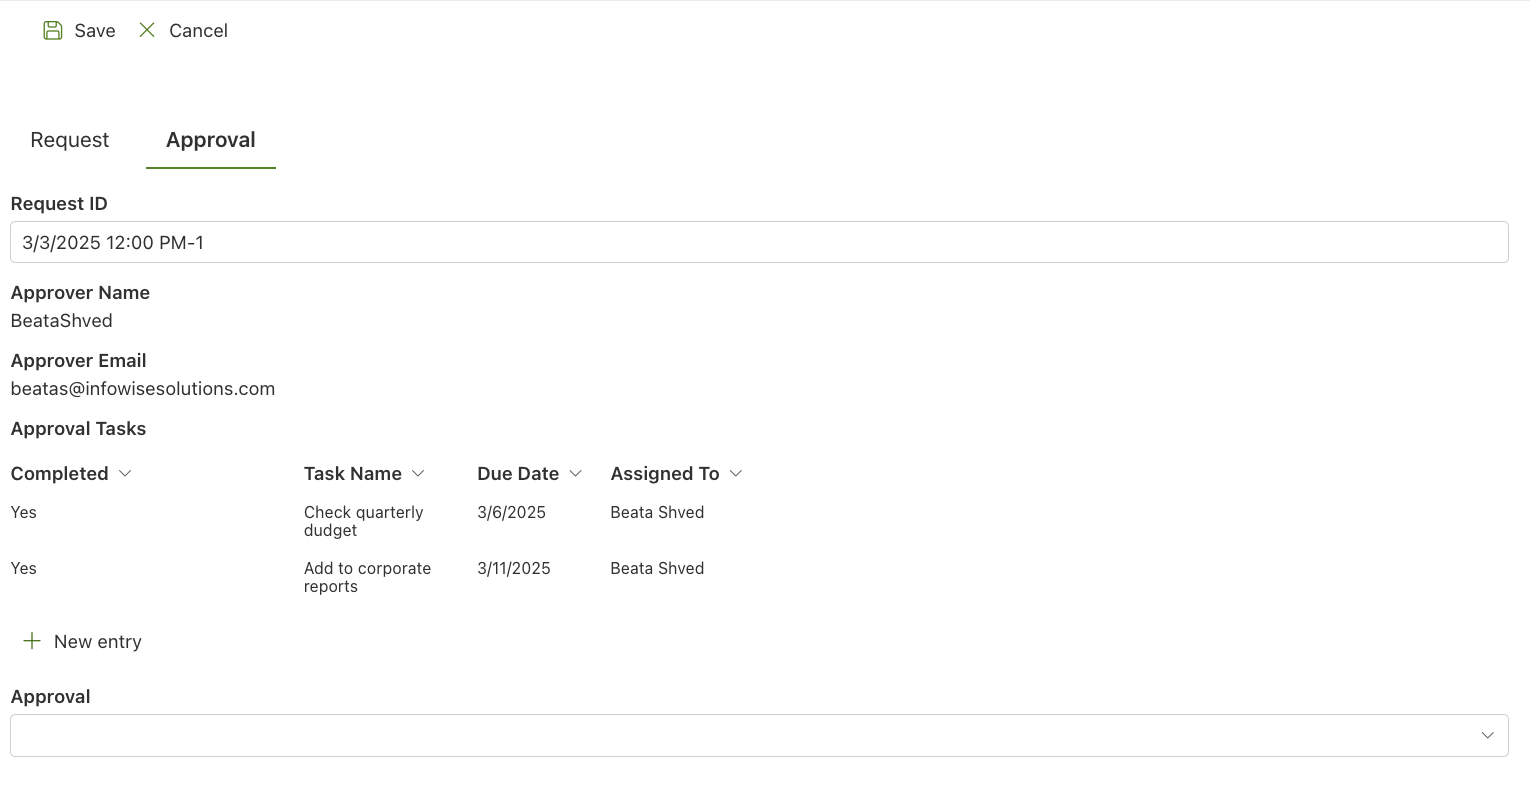
Log in as the approver, follow the link, open the Approval tab, and approve or reject:
Then run the test that proves the pattern: change a department's approver in the Departments list, submit another request for that department, and watch the new person receive it. No workflow was touched. That is the moment the system stops being configuration and starts being data.
The same pattern, with less wiring
This build assembles dynamic routing by hand from permission rules and actions, and the assembly is worth knowing because it generalizes to any staged process. But note that the Approval control resolves dynamic approvers natively: point it at a Person column, such as a Manager column or a lookup-resolved approver, and the control handles the routing, notifications, reminders, locking, and history that steps 4 and 5 built manually. For most new processes, start there; reach for the hand-built version when the process needs its own specialized structure. Dynamic resolution also combines with conditional approvers, so an approver can be both resolved from data and included only above a threshold.
Why dynamic approvers pay for themselves
Scalability. Departments reorganize, grow, and merge, and the approvals keep flowing because the routing is rows in a list, not nodes in a workflow.
Less chasing. Approver assignment and notification are automatic, so nobody manually forwards requests to the right person.
Compliance. Every request is authorized by the person the routing table designates, with the trail to prove it, and the table itself documents who approves for whom.
A calmer experience. Requesters submit one form without knowing or caring about routing, and approvers receive exactly the requests that are theirs. The routing knowledge lives in the system instead of in people's heads, which is where process knowledge belongs. For the broader map of routing patterns, escalation, and the hard cases, see the complete guide to SharePoint approval workflows.
Frequently asked questions
Add your comment