
Introduction
Microsoft Teams is becoming a central tool in almost every organization, especially considering the ongoing health crisis. Here, at Infowise, we also use it extensively, I would even say it's our main tool!
Ultimate Forms helps you create amazing, advanced business solutions based on your SharePoint list and document libraries, using nothing but your browser! Anything from simple Vacation Request or Expense Report and all the way to complex Help Desk or Project Management solutions can be built in minutes, without writing a single line of code.
Ultimate Forms in Teams
So as you see, a combination of Teams and Ultimate Forms would be a killer! And so we tried that, found some issues, resolved them and are ready to show it to you. Let's start from the end result, so I don't try your patience:
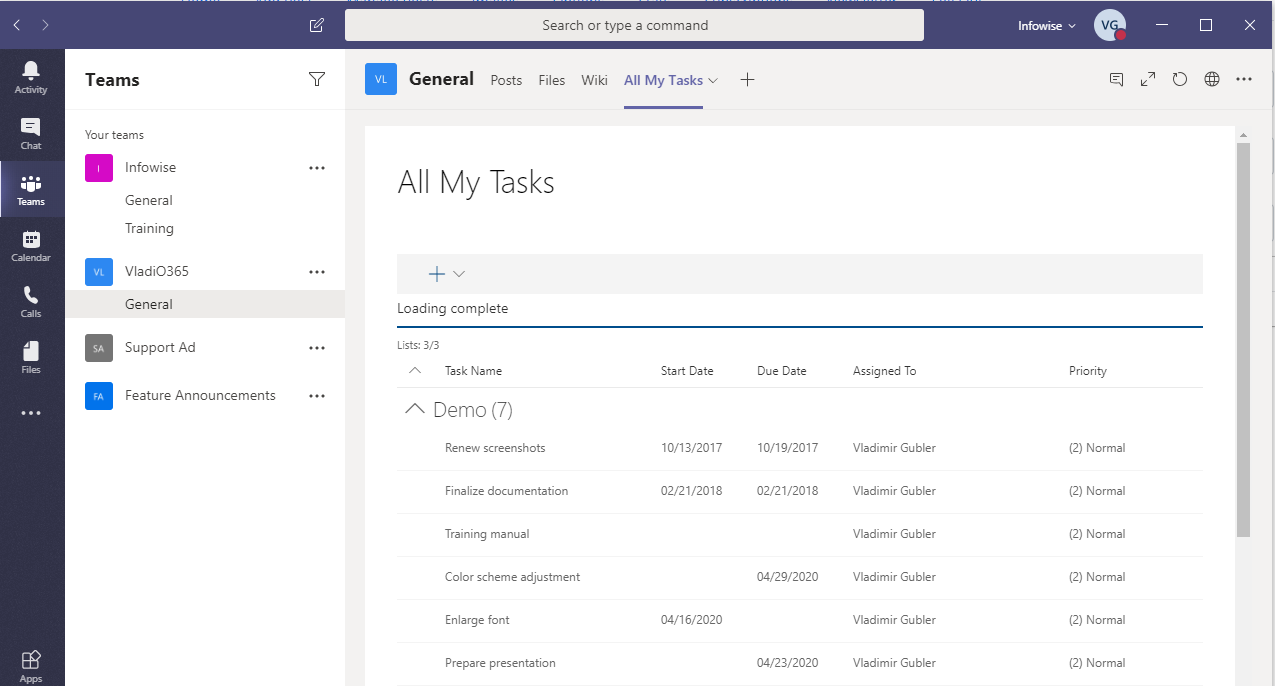
What you can see here is our Rollup web part that can be used to display information from one or many lists. We are going to be using this web part as our list viewer.
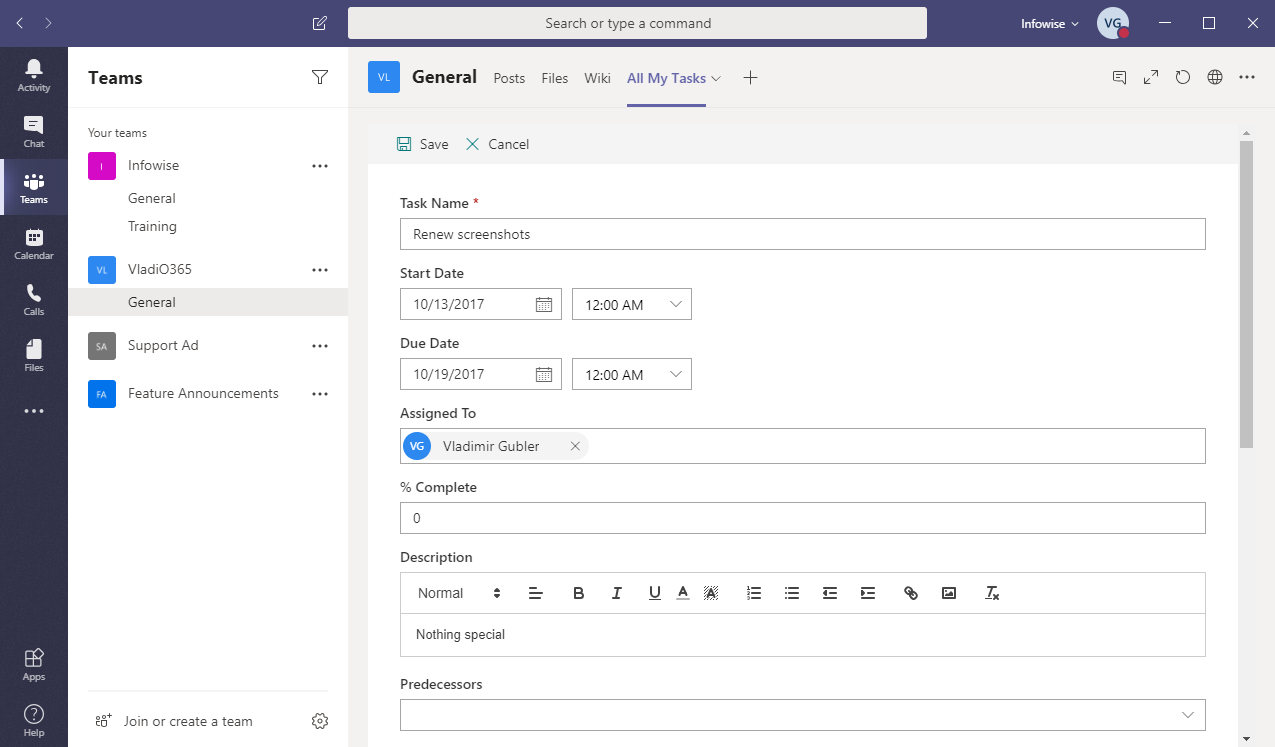
This is a list item in our Modern edit form. Looks exactly the same as in the browser, right?
And how about mobile? Well, here you go:
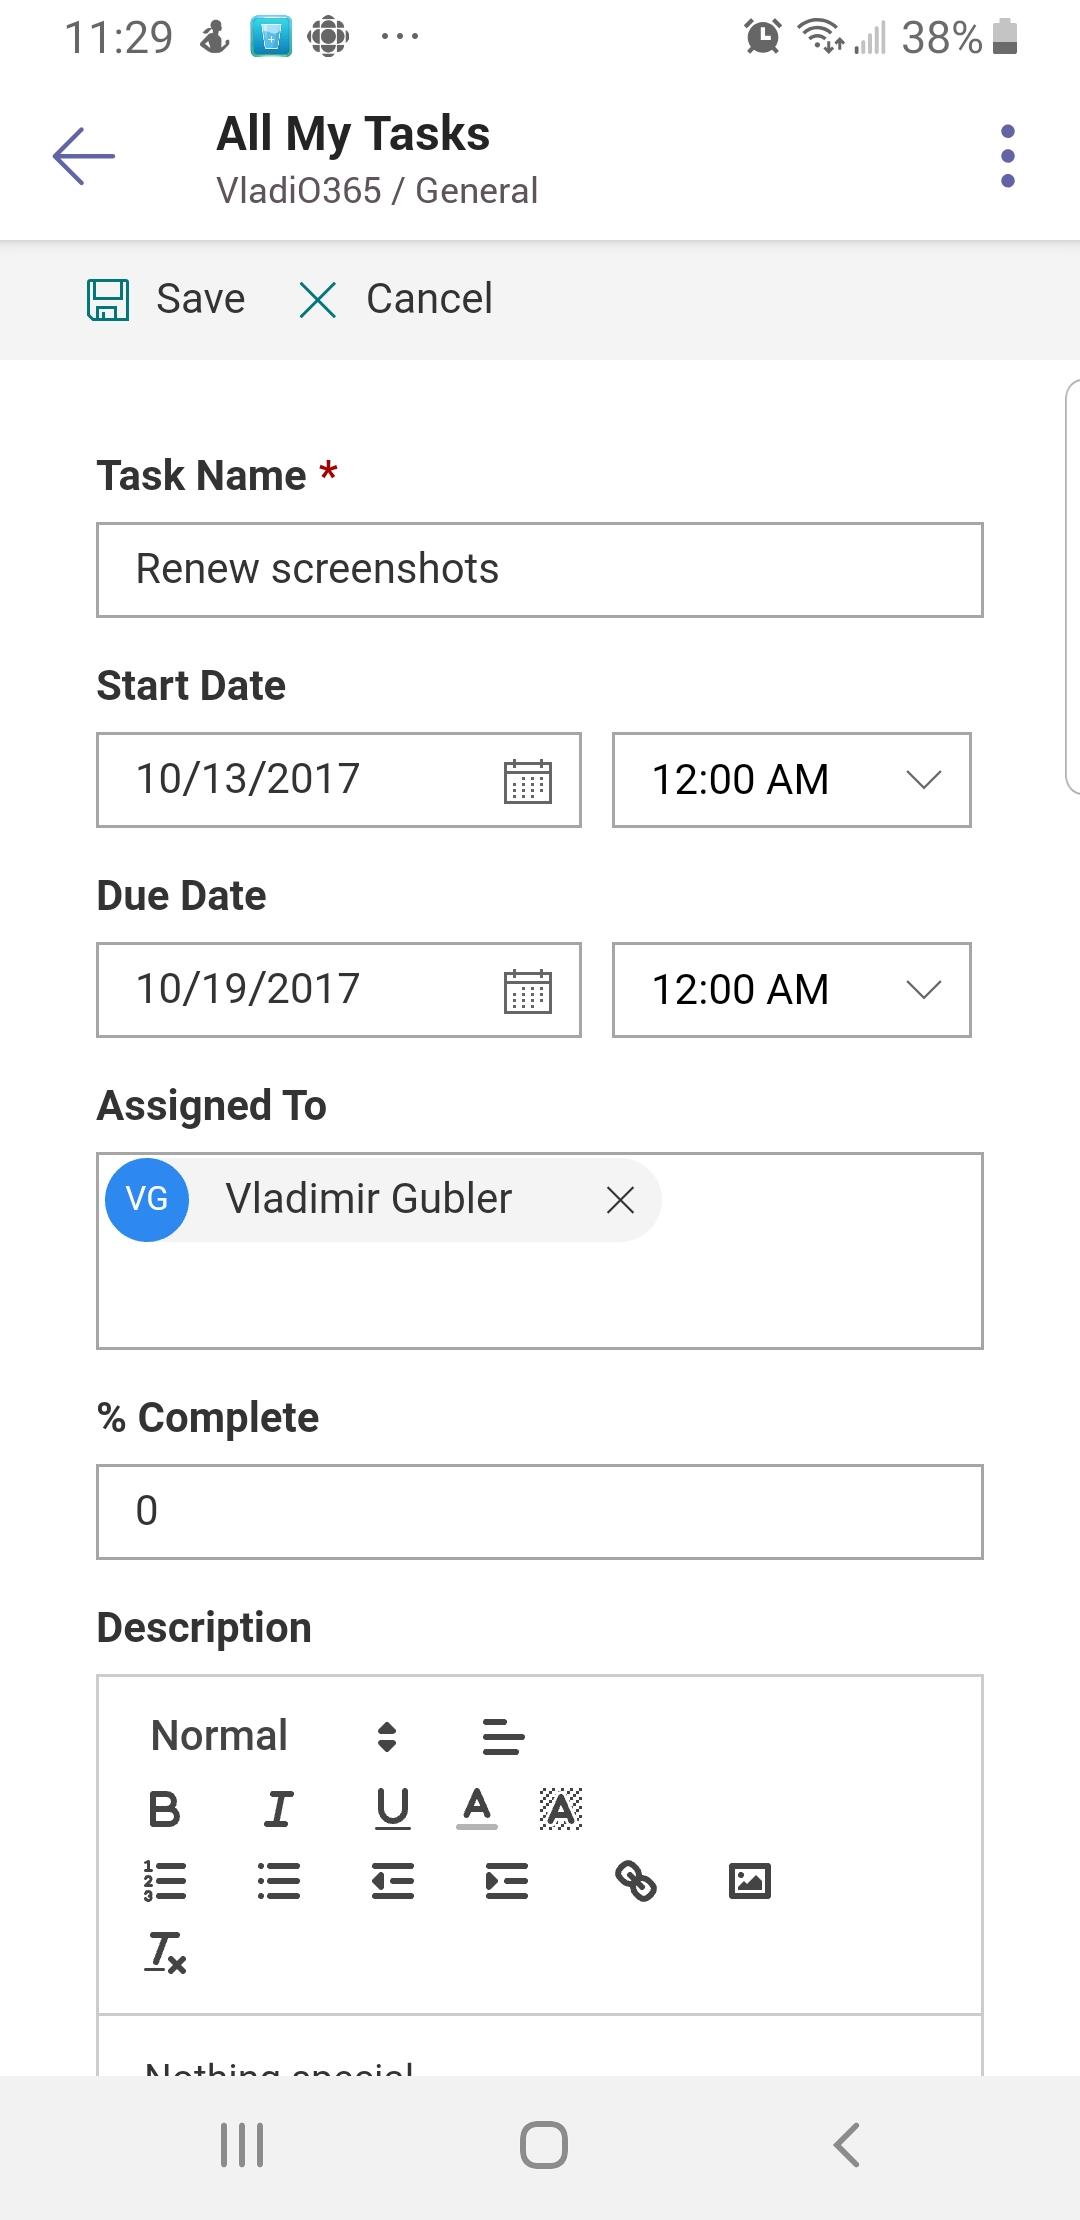
Pretty cool, right? This is actually a very simple form, without any of the fancy bells and whistles you would normally add, such as tabbed interface, column permissions, dynamic rules and so on, all the goodies Ultimate Forms is packed with!
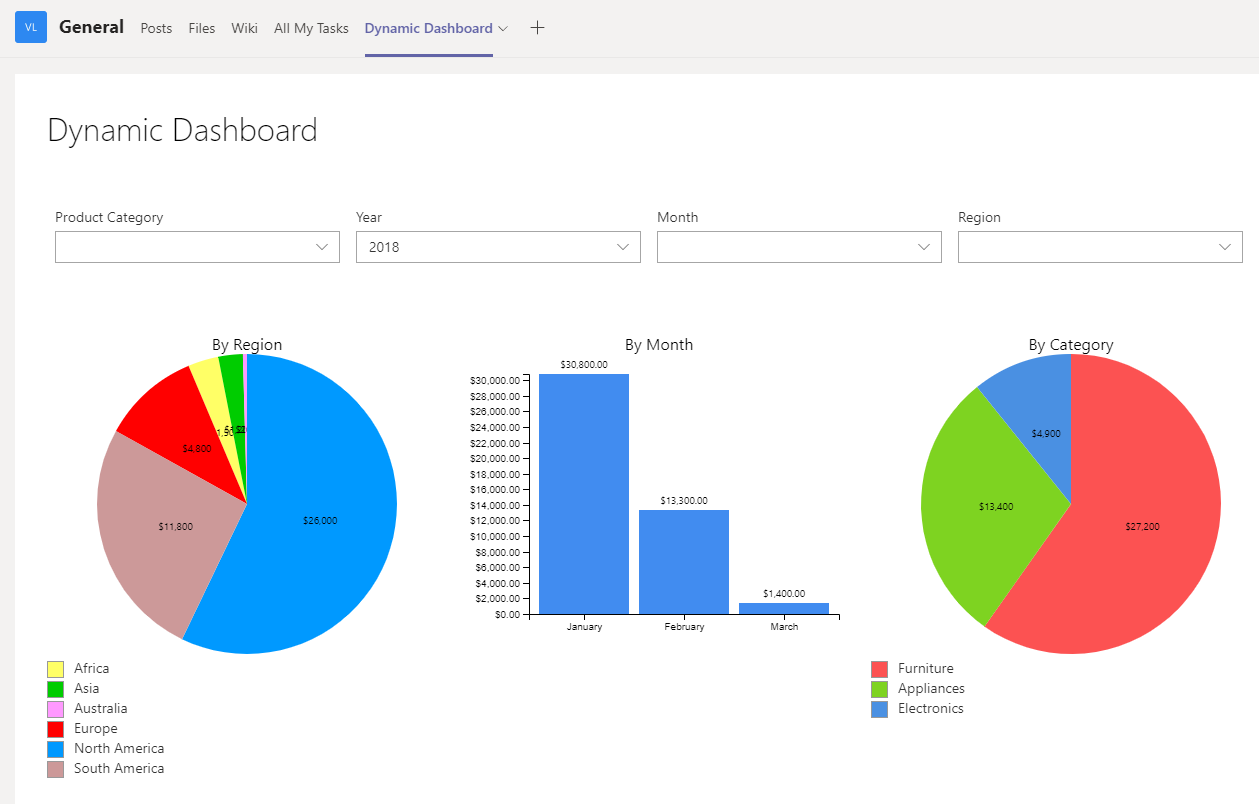
And how about a dashboard?
OK, ready to build something like this yourself? Here we go!
First of all, this is really all Microsoft 365 stuff. I'm not sure if it would work on premise, my understanding is that currently it's not possible. But if it ever is, we will be able to support that as well.
How It's Done
So the first thing we need to do is make sure our site has Ultimate Forms is either installed on the site or deployed to all sites from App Catalog. Without the installed app it won't work and no point in reading the rest of this article.
Design a Form
Good, so now we need to either choose a list we will be integrating in Teams or creating a new one. Once we have the list, we can create a Modern form for it using Form Designer (a component of Ultimate Forms)
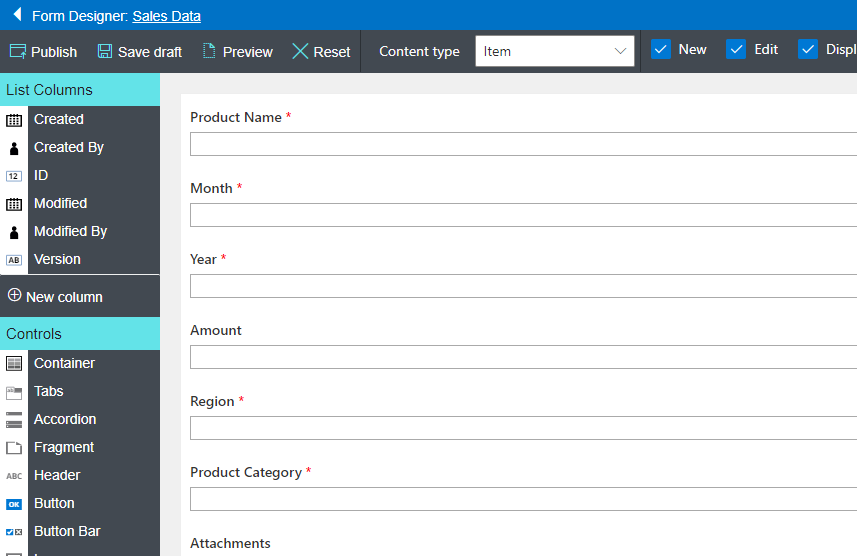
Don't forget to Publish when done!
Create Rollup Profile
Next, we want to create a new Rollup profile. Rollup allows you to display information from multiple lists and document libraries in one place. The source lists don't even have to be in the same site for it to work!
Click on Rollups in Ultimate Forms and create a new profile:
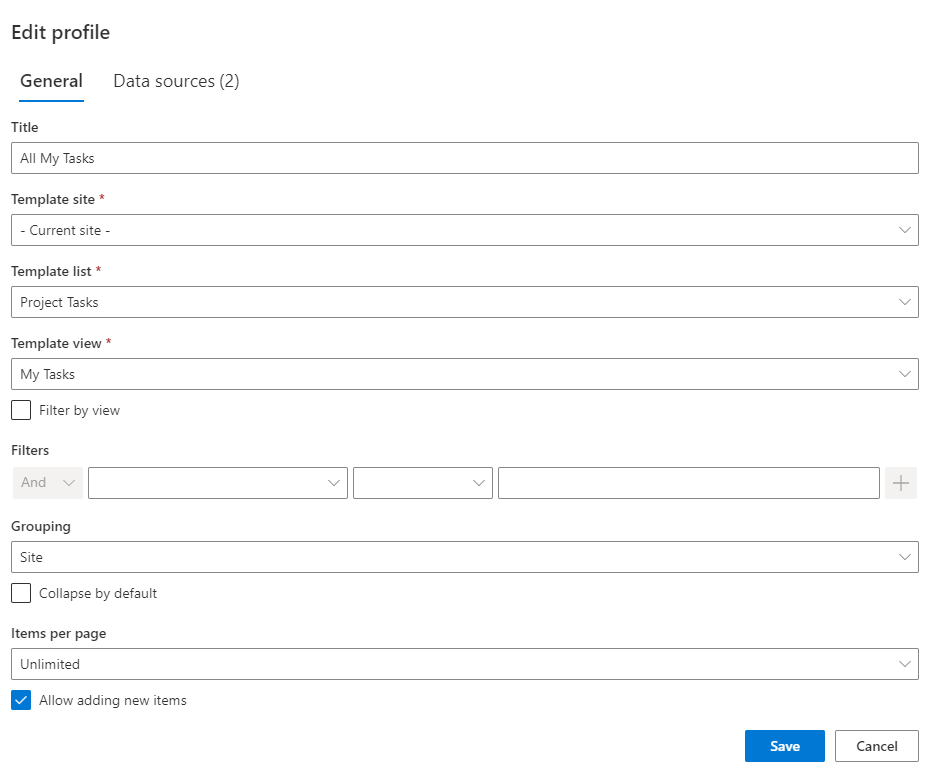
This is the first tab. The important things here are to enter a meaningful title, as we will need it later. Under Template List, select the list you chose or created. Rollup is capable of showing combined information from multiple lists. Therefore we need to use a Template list to know which columns to display in the view. In our case, we will be using just one list (but of course you can use more than one, it's up to you).
Under Grouping you can select Site, List or View. For a single list, View makes the most case. If you want your users to be able to add new item, mark that checkbox as well.
Now it's time to enter one (or more) data sources. These point to the list where the actual data resides:
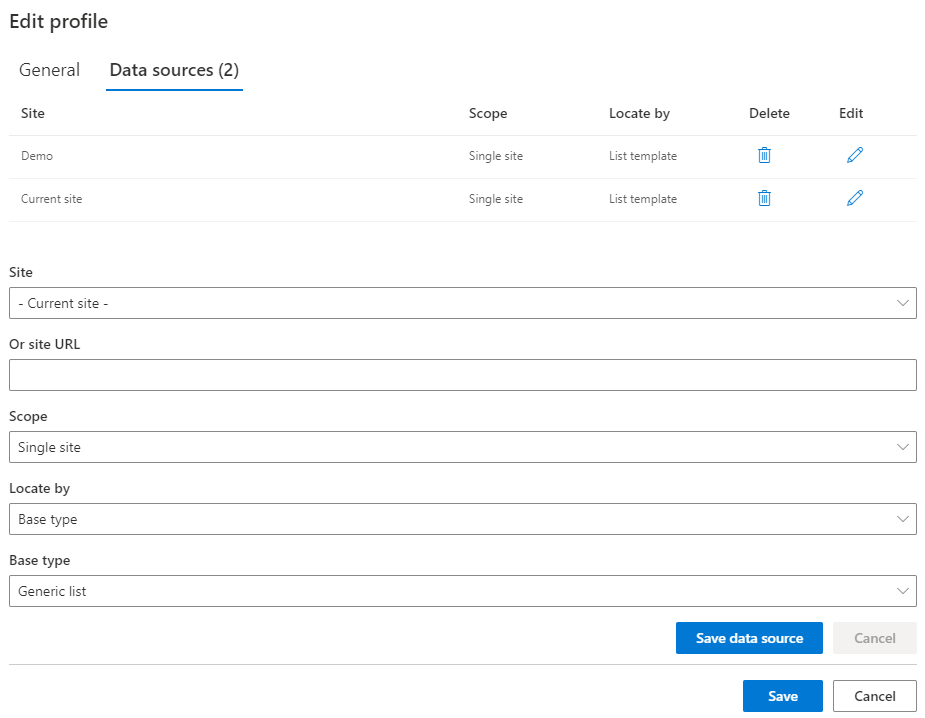
A true wealth of options here! You can point to a whole other site, choose lists by type or template, or choose specific lists, that's the option we will be using here. So:
- Site - current site, unless you want to do a cross-site rollup
- Scope - Single site (that's the only option that allows selection of specific lists)
- Locate by - Specific lists
- Choose the list[s] you want. Generally for the purposes of this tutorial, it's the same list we chose/created earlier and also used as our Template list.
Save the data source, then save the profile.
Integrate in Teams
We have two options of integrating SharePoint web parts in Teams. We can place them on a page in SharePoint and then display that page in Teams. Or we can create a new tab in Teams and place the web part directly there. The second option is simpler, but we can't combine multiple web parts on the same tab. If we wanted to build a dashboard, we would be using a web part page. So there are good reasons for using either approach.
Display Web Part Page in Teams
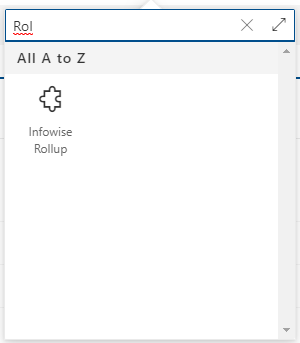
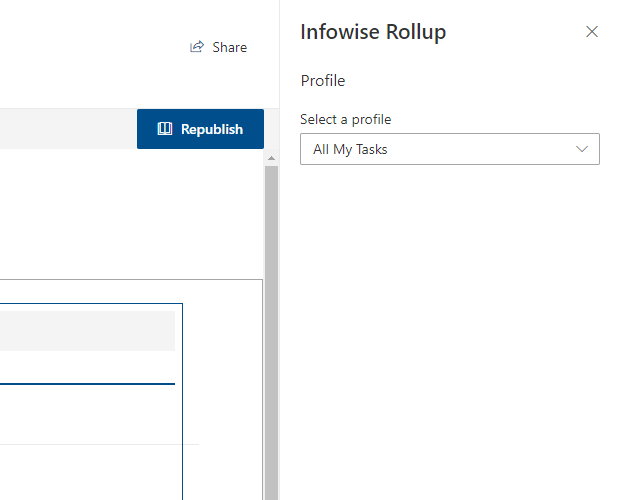
Let's now create a page for the Rollup. Once you created a page, add a web part to it called Infowise Rollup:
Next, open the web part properties to select the Rollup profile we created earlier. Note that the profile selection dropdown might take a couple of seconds to fill up:
Publish the page. You are now ready to add it to your Teams.
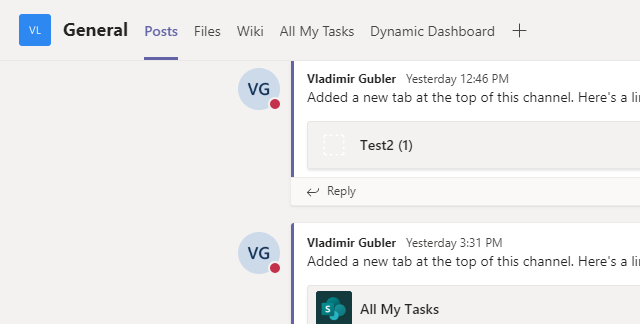
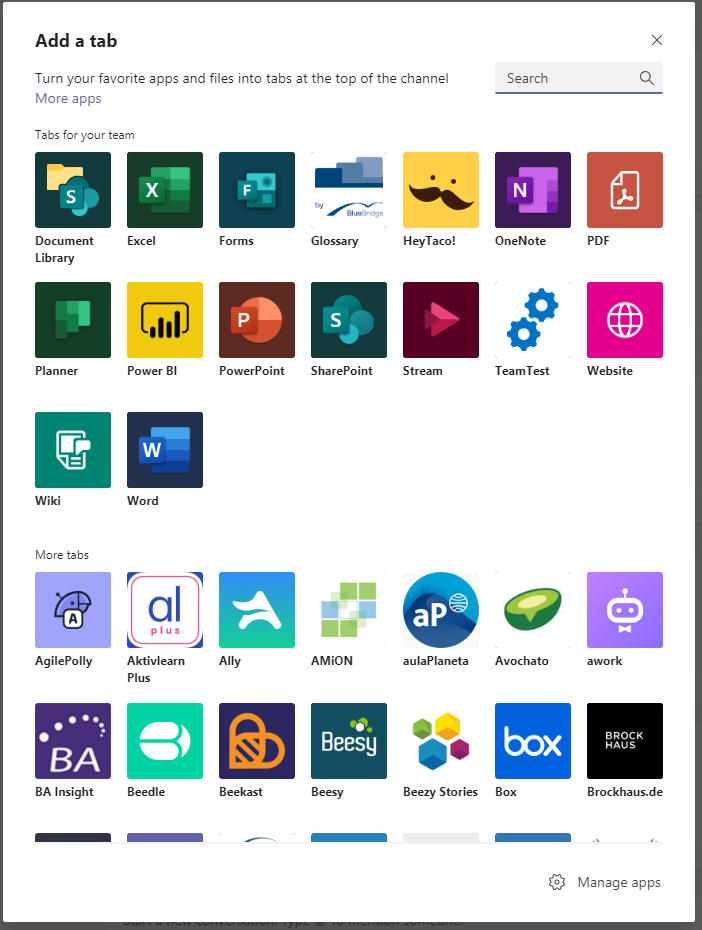
Open Teams and go to your team (under Teams in the left menu). Next, we need to add an app to display our page. On the top menu of the team, click on the plus sign on the right to open the app picker:
Choose SharePoint app here:
Next, select the SharePoint page (assuming that the current team is linked to the site where the page resides:
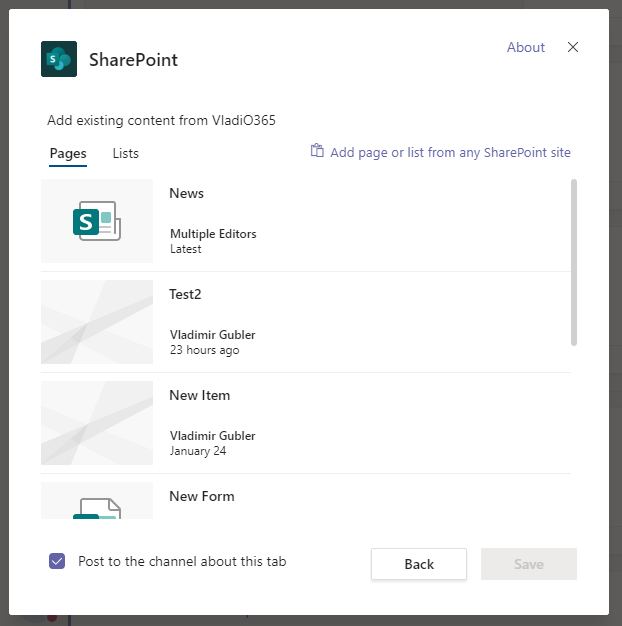
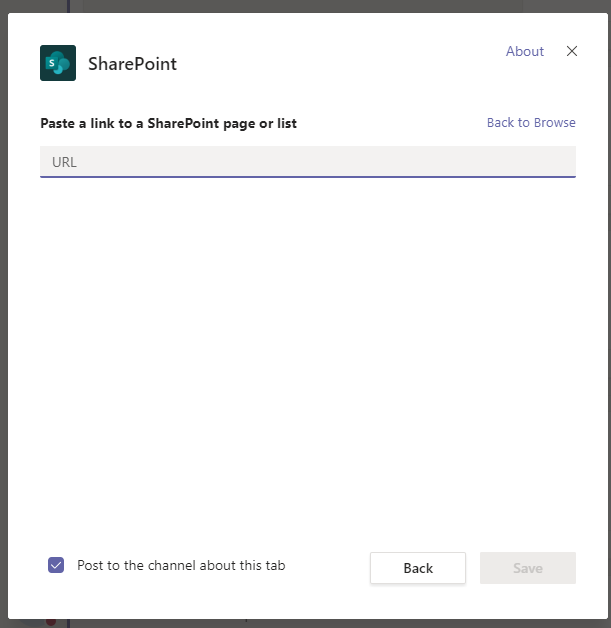
Or just enter the page URL directly:
Save and that's it. You can now explore and work with your list directly from Teams!
Conclusion
Integrating Infowise Ultimate Forms with Microsoft Teams unlocks a new level of productivity and collaboration for SharePoint users. By bringing powerful no-code form building, automation, and reporting capabilities directly into the Teams interface, organizations can centralize workflows and streamline day-to-day operations without switching platforms. Whether you're managing requests, tracking data, or building complete business solutions, Ultimate Forms makes it easier than ever to work where your team already communicates. Start harnessing the full potential of SharePoint and Teams together—with no coding, just results.