This tutorial applies to Microsoft 365 (SharePoint Online). If you are using SharePoint On-Premises, the configuration process is slightly different and will be covered in a separate tutorial.
A List Search Profile defines how the List Search web part retrieves and displays data. Each profile can include one or more SharePoint lists or libraries, specify a default source, select display modes, and control user permissions such as saving searches or exporting results.
In this tutorial, you will learn how to create a new List Search Profile in Ultimate Forms and configure its main options before adding it to a SharePoint page.
Instructions
Preparation
Before creating a List Search Profile, prepare SharePoint lists and libraries for testing.
Make sure each list contains items, so you can see realistic results when performing searches.
Step 1: Open List Search Settings
- Open Design.

- Select List Search from the main menu.
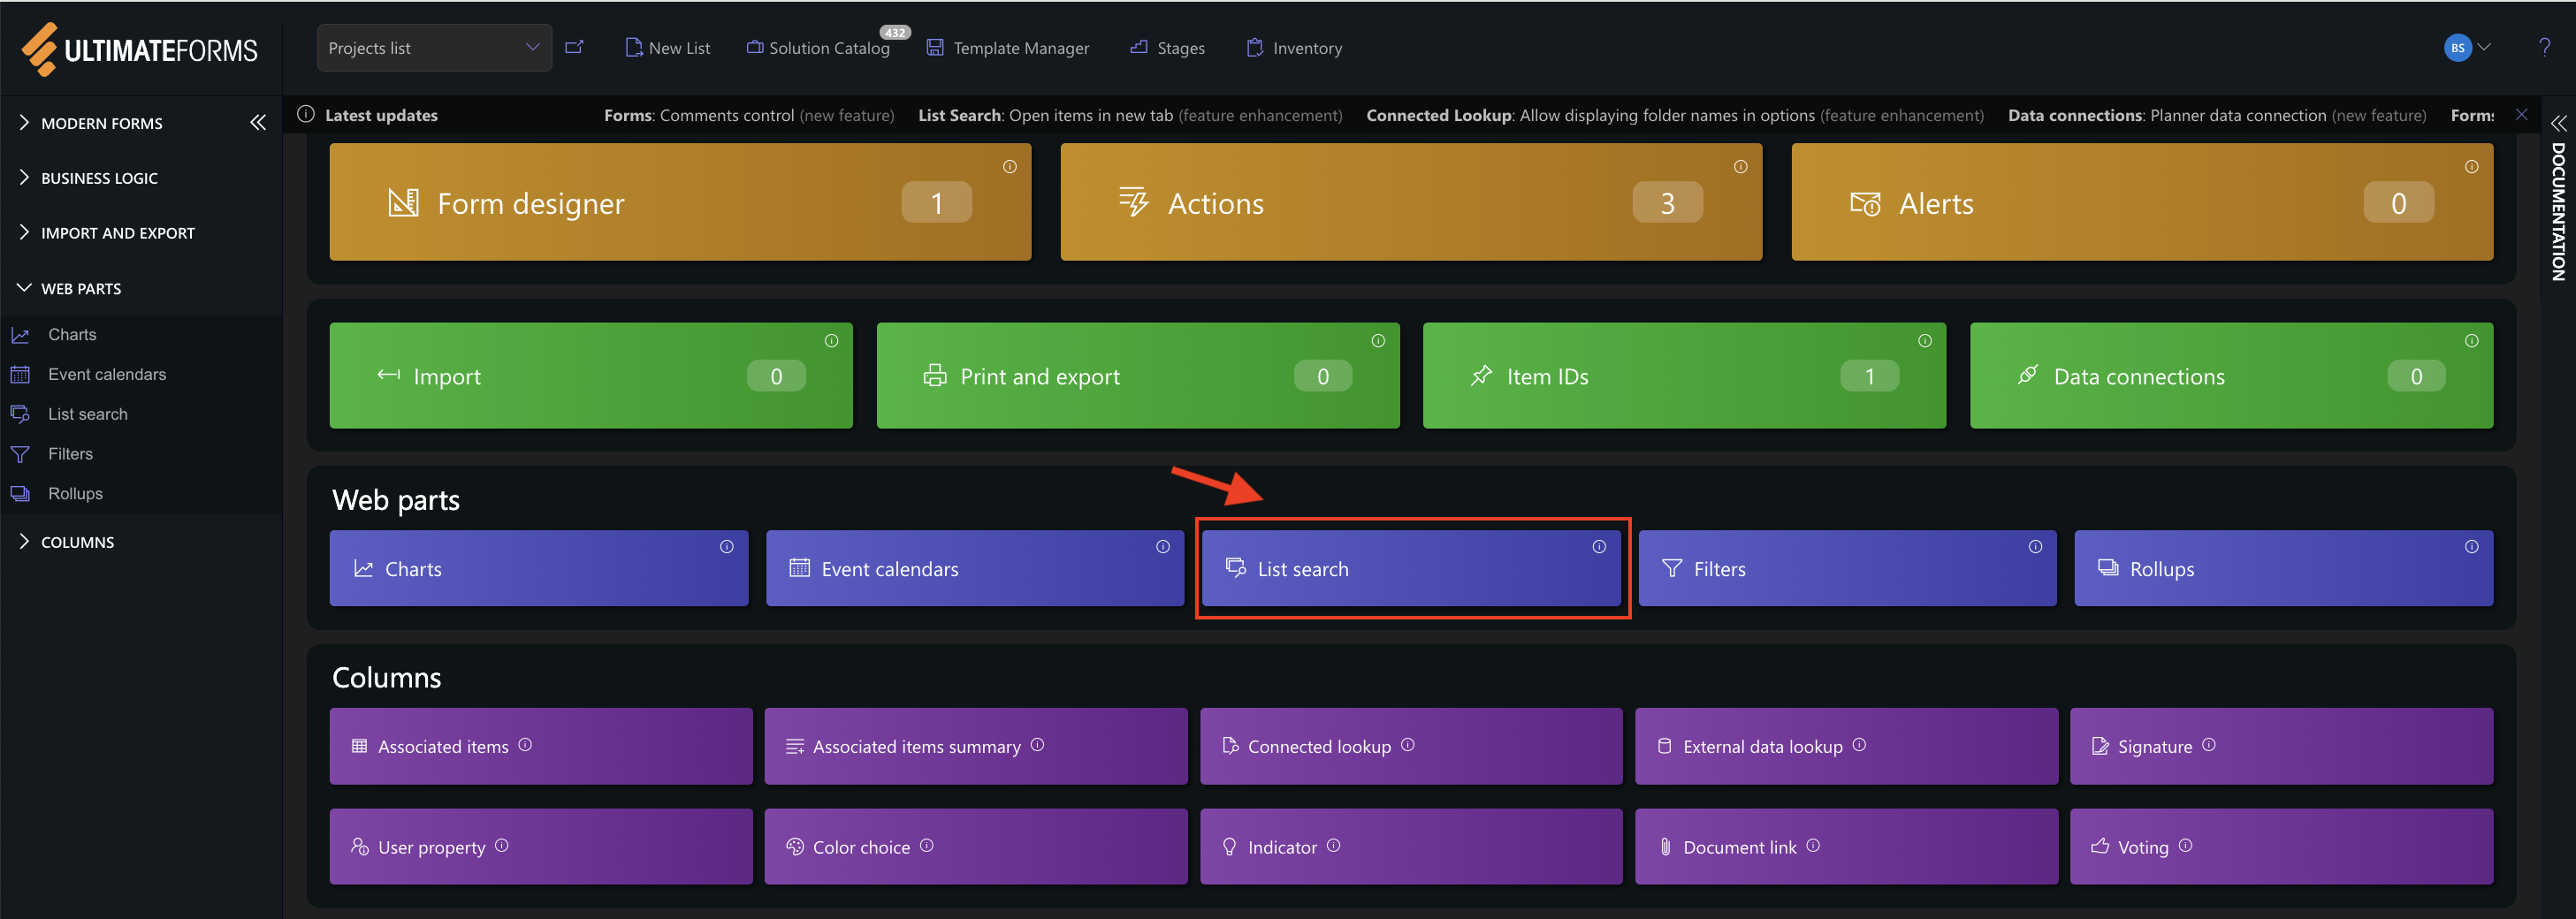
- Click Add new profile.

Step 2: Enter Profile Name
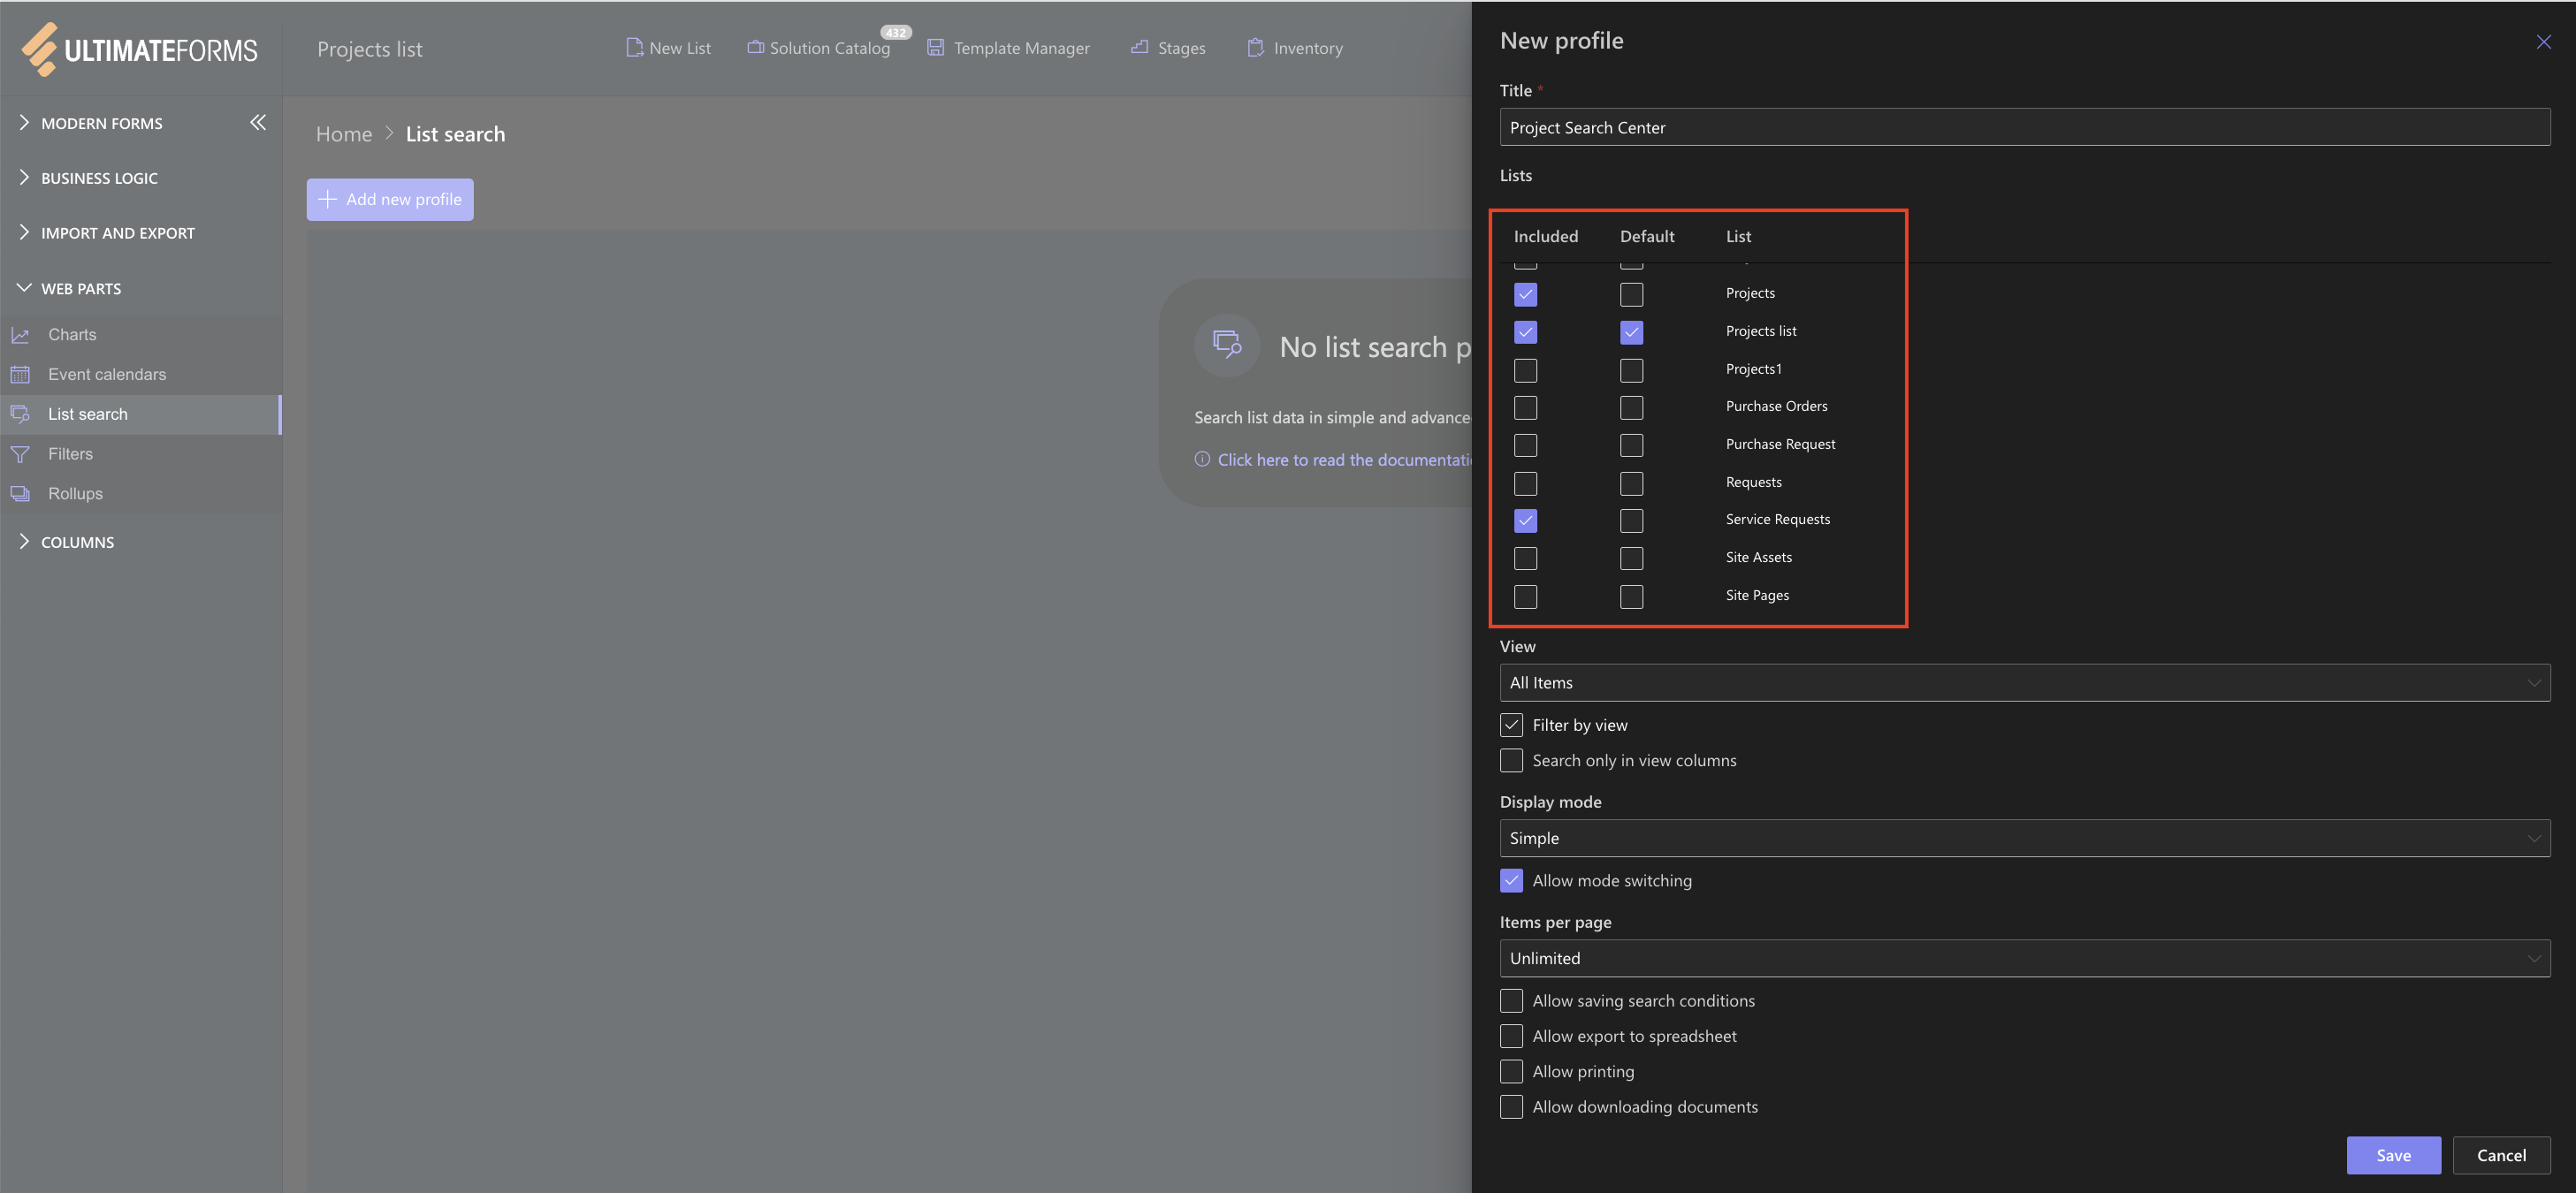
- Enter the following title: Project Search Center

This name will later be referenced when adding the web part to a SharePoint page, so keep it simple and descriptive.
Step 3: Select Lists and Default List
Under Lists:
- Included = Check the box next to the lists you would like to bring in.
- Default = You can only choose one Default list as this is the list that will be searched if the user does not change settings.
Note:
Advanced Search filters always come from the Default list, so choose the list with the richest data fields (in this case, Projects list).
Step 4: Configure View and Search Options
Under the View settings:
- Select the initial Default view (All Items) for Projects list

- Optional:
- Enable Filter by view
- Enable Search only in view columns
Use these if you want to limit which fields appear in search filters.
Step 5: Set Display Mode and Search Behavior
Under Display mode:
- Choose Advanced (recommended for this example)

Enable Allow mode switching to give users access to both Basic and Advanced Search
Step 6: Configure Result Display
Select how many results to show per page:
- 20 is recommended
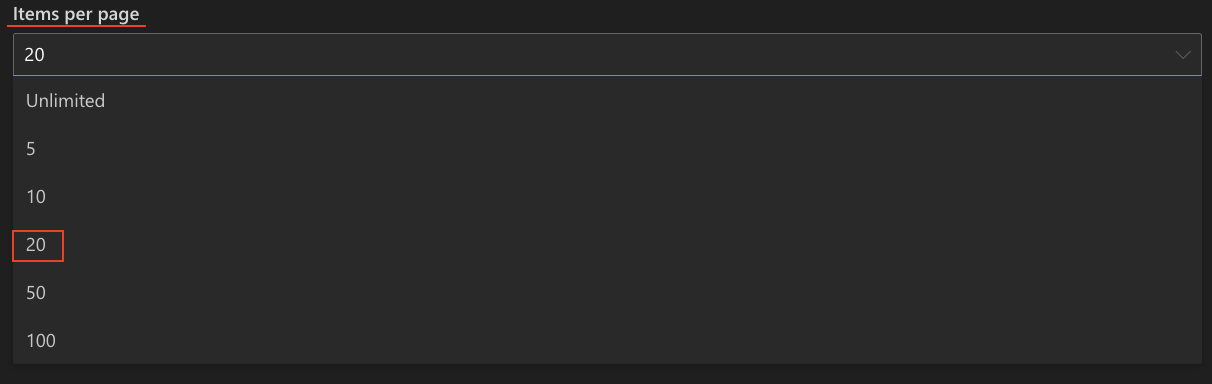
- You may choose Unlimited for wide lists or bulk operations
Step 7: Enable Additional Features (Optional)
You may enable:
- Save search conditions
- Export to spreadsheet
- Print view
- Download documents
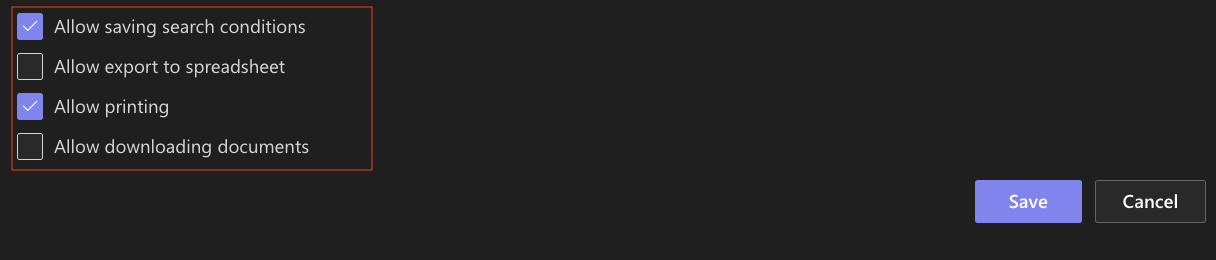
Enable only the options relevant for your scenario.
Step 8: Save the Profile
- Click Save.
Your Project Search Center profile is now complete and ready to be connected to the List Search web part.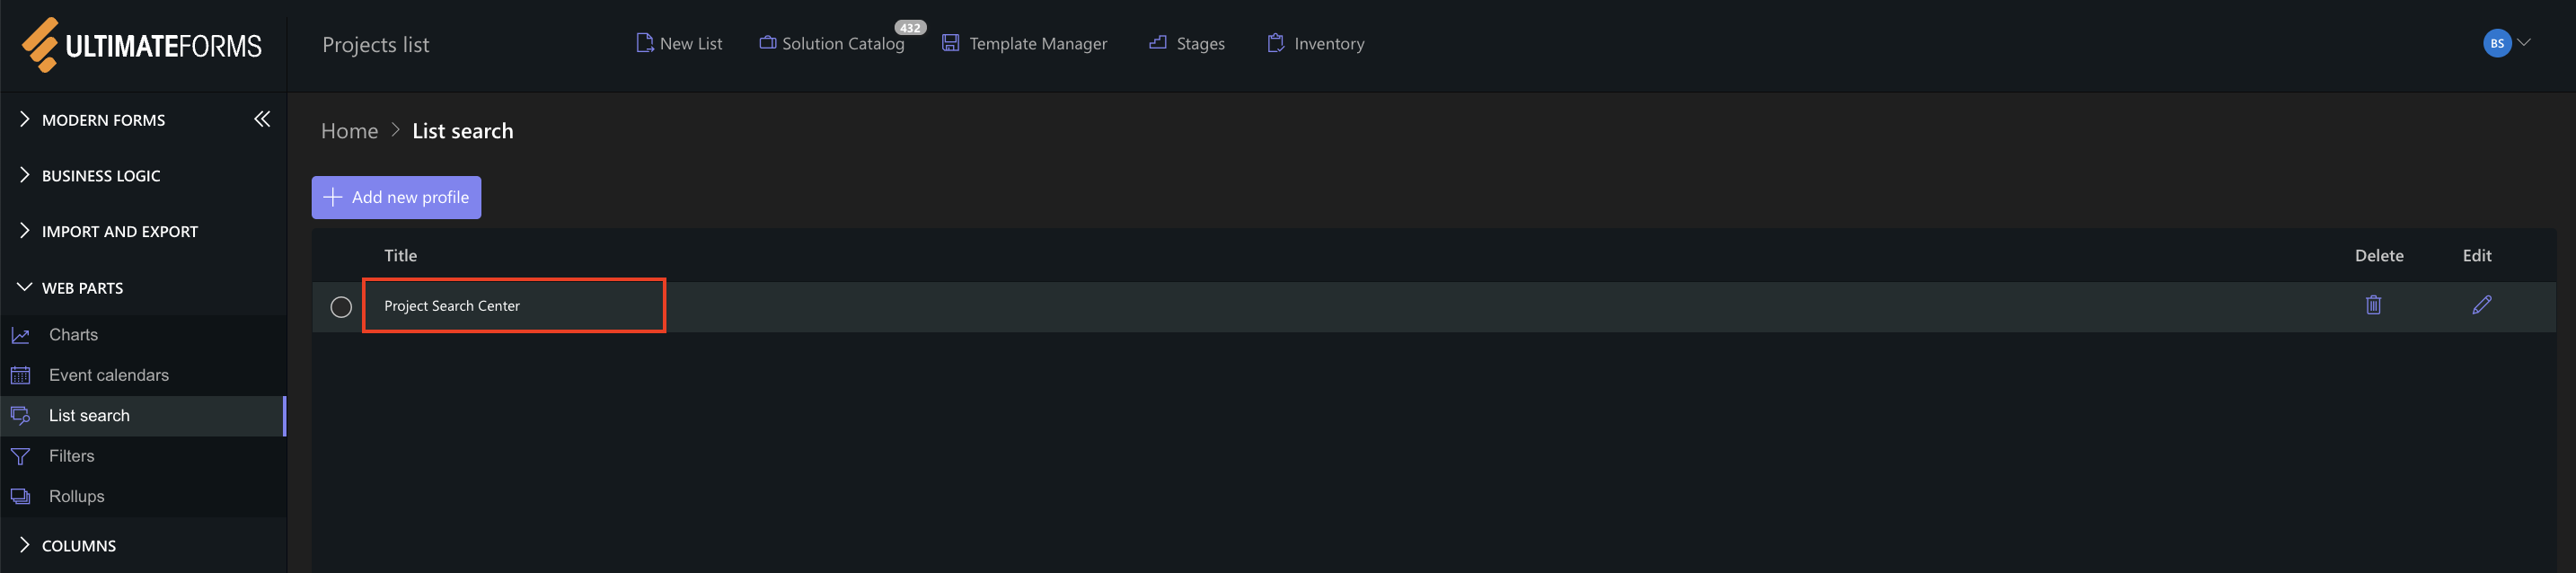
Summary
In this tutorial, you prepared lists and created a dedicated List Search Profile called Project Search Center, including multiple lists, a default source and display settings.
In the next tutorial, we will add the List Search web part to a SharePoint page and connect it to this profile.